Showing posts with label projects. Show all posts

Thursday, October 25, 2012

Hideous Horses Before/After

My fellow blogger Gail at Little Beach Designs recently blogged about being embarrassed when she buys certain items from thrift stores with the plan to renovate them into something beautiful.  I couldn't agree with her more.  I do this often.  There's A LOT of ugly stuff out there that can be transformed into something quite lovely if you have a little imagination. . .and in my case, a can or two of  spray paint.

I found these ceramic horse bookends at a thrift store for just a couple dollars each.  I cleaned them up, gave them each a coat of Espresso spray paint, then a coat of Heirloom White spray paint.  I roughed them up a bit and applied some dark brown wood stain to give them an aged look. . .voila!  They sold quickly in my shop for 5 times what I paid for them.  The buyer was in another country and liked them so much she didn't mind paying the $30 it cost for shipping.  I took that as a huge compliment.


After (SOLD)

Tuesday, May 29, 2012

Painting kitchen cupboards is NOT fun. . .

. . .but it will be sooo worth it in the end.  I've decided to finally undertake the task of refinishing our kitchen cupboards AGAIN.  I did it once a year or so after we purchased our home (14 years ago) and it hasn't been long enough for me to forget what a daunting job it is.  I'm not doing anything fancy; just repainting them white and changing out the hardware.  But still. . .it's a process.

Remove hinges, remove handles, sand front/back of doors, sand base of cabinets,  1 coat primer, 2 coats primer (plenty of drying time in between each coat), apply paint, apply second coat of paint if needed (of course, I'm probably going to need two), let dry A LOT because you don't want to affix the new hardware and screw up all your paint job, hang doors.  See?   I told you.  It's A LOT!

This time around, I decided to work in sections instead of removing all of the hardware from my 36 cupboards and drawers, sanding everything, painting everything, etc.  You see, my fab hubby works 50 hours a week and I'm the DIY person in the family so I'm pretty much on my own with this project.  Plus, I'm a control freak when it comes to projects like this so I'm perfectly happy to go it alone.  So today, I started with an upper bank of three cupboards and am going to finish the job completely before moving on to another section.  I think this is going to be a good system for me because I don't have enough work space to do all of the doors/drawers at the same time and I don't have enough extra room to store everything that has to come out of the cabinets in order to paint without getting dishes all yucky.

Here's what ground zero looks like today. . .can you see the Oil Rubbed Bronze bin pull I tried out on the drawer?  That's what's going on all of the drawers and matching pulls will go on the doors. 


Holding zone. . .No family dinners at this table until the trio of cabinets are done.

Below is the "Before."  Not hideous by any means but there are lots of scuff marks you can't see in this photo.  We also currently have chrome pulls with white porcelain centers.  Cute for the mid 90's but not so cute now.


Stay tuned for more kitchen updates and the "After" (if I ever get there).  Wish me luck!


Please come back and visit soon.

If you like this post, I hope you will consider following my blog!


Photobucket

Sunday, March 25, 2012

Nice weather for a project

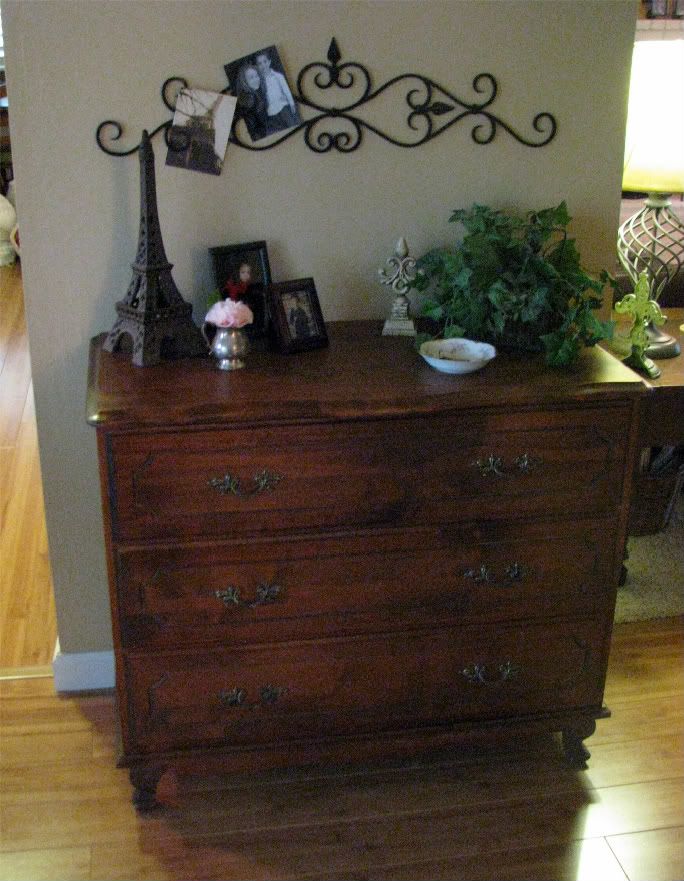
We were expecting rain this weekend but when Saturday turned out to be sunny and warm-ish with just a slight breeze, I got the itch to undertake a project I've been contemplating for quite some time.  So outside I went with my hand-me-down vintage looking dresser turned microwave cart.

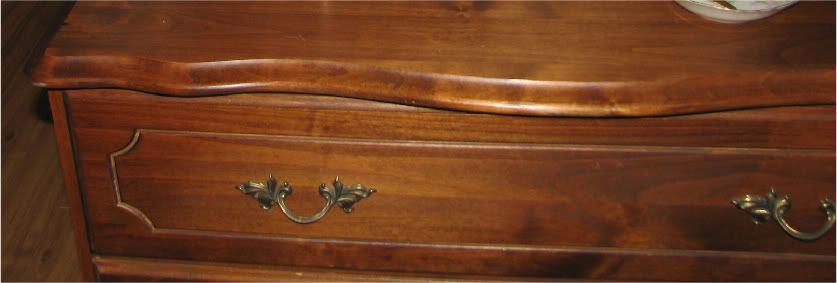
One day last year, my mom and I visited her storage unit for something completely unrelated to this little dresser (isn't that how things always happen?).  The dresser, which I believe used to belong to my sister-in-law is something you would find in an unfinished furniture store.  It's solid wood with dovetail construction and no metal/plastic workings.  However, it's not a vintage piece.  It has two small holes in the top (possibly it used to have an attached mirror).  I immediately saw the potential in it and asked my mom if I could take it home.  Looking to eventually be free of her rental storage unit, she said yes.
 
Our kitchen counter space is limited so years ago (we purchased our home 14 years ago) I constructed this shelf to hold our microwave.  The open shelf cart was being used for storage and was practical but an eyesore in my opinion.  I have issues with visual clutter.


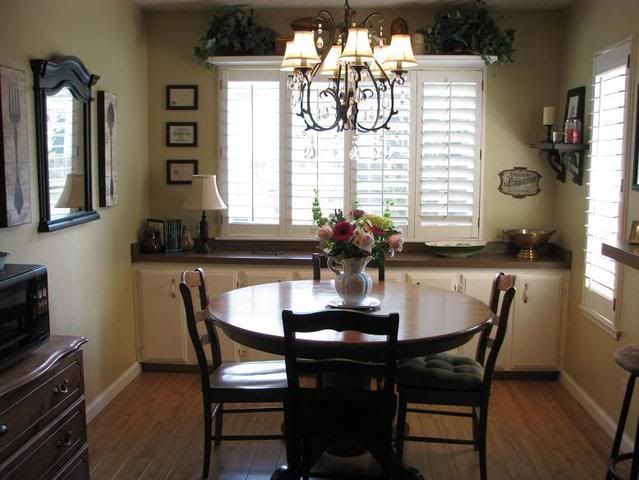
To give you an idea of where this cart was situated in our kitchen/dining area, here are a few pictures of those spaces.

This photo below is taken while standing in the dining area.


The door to the garage is just to the right of the stainless trash can you see in the bottom right corner of this photo.  The cart was located to the right of the door.


This photo was taken standing at the far end of the kitchen (duh).  You can see the microwave and cart over there on the left side of the dining area.  Lucky for us, its location didn't impede the pulling out of the chairs in any way.  The table is a 50" round and there is room to pull the chairs out comfortably and still walk by (if you suck it in while doing so--ha ha).


Okay, so now that you have a feel for the layout of the rooms, onto the project. . .

We tried using the dresser as an entry table for a little while but it was a bit too big for the space.  I decided it would be more useful in our dining area as a replacement for the cart.

Photobucket


This dresser sat in our dining area for several months being used in the same fashion as it is now, but just in its found state.  I purchased oil rubbed bronze (ORB) bin pulls on eBay for less than $2 a pull with the idea that when I made the time and the weather cooperated, I would paint the dresser and attach the new pulls.

Photobucket


The dresser didn't have a coat of varnish on it so I just painted directly onto the wood using two coats of white semi-gloss paint I had on hand.  I left the top unpainted because that's where the microwave would sit and it would just scratch the paint up.  Plus, I've seen on more than a few blogs people who have painted dressers and left the top natural and I looove the look.


I used fine sandpaper to scuff up all of the edges to bring out the detail.  This dresser is going to get lots of use and pre-aging it will make the marks we put into it not as noticeable.


ORB pulls are attached.

I love how rich the top looks in contrast with the white.


I think the dresser takes up less visual space and looks more "finished" now that it's painted.  I store small Tupperware/Rubbermaid containers, reuseable water bottles and such in the drawers (things that easily get lost in the back of a deep kitchen cupboard).
 

I'm thinking about adding a towel bar on the left side and maybe a hook or two on the right for potholders.


There is plenty of  space for Rosie's food dishes and room to walk around the table.


I love how this turned out so I am purchasing all new ORB for the kitchen cabinets.  Everything will then have a cohesive look.  I'm very excited about that project.


Please come back and visit soon.

If you like this post, I hope you will consider following my blog!


Photobucket 

I joined this linky party:

Mondays at Between Naps on the Porch

Show Off Your Cottage Monday

DIY Project Parade

Friday, October 28, 2011

Ugly serving tray redo and tutorial

Hi Nesters,

The weather's no longer scorching hot here (90's to low 100's most of the summer) so I've been able to get back out in my workshop. I purchased this sad (in my opinion) serving tray at the Salvation Army with the idea that it would never ever look like it's original form once I was finished with it. Aside from the aesthetics, it was in very good condition with no chipping, cracks, etc. Here's what I did to transform it:
  • Wiped it down with a damp cloth and let it air dry.
  • Gave it two coats of Rost-oleum Wet or Dry Sandable Primer in #1980 Gray Primer, drying between coats.
  • Sprayed two coats of Rust-oleum Painter's Touch Ultra Cover in Satin Heirloom White, drying between coats.
  • Using 200 grit sandpaper, I roughed up the edges here and there to give it an aged feel.
  • Then with a damp rag, I applied (especially in the nooks and crannies) Minwax Water-Based Wood Stain in Colonial Pine
  •  I let it sit overnight to dry completely and then I put it on our family room table to display some of my favorite things.  The whole project took just a couple of hours and most of that was drying time.
I love how it turned out.  It really makes the objects look grounded on the table.  I have a few other thrift store trays of varying sizes in the works next.  I'm thinking about using one on my nightstand or dresser and maybe selling the other one in my Etsy shop (if I can bear to part with it).


**Shared this post at Dumpster Diva's Cute & Creative linky party!


Please come back and visit soon.

I hope you will consider following my blog!


Photobucket

Monday, May 9, 2011

Thrift store mirror makeover and some other dining room changes

Hi Nesters,

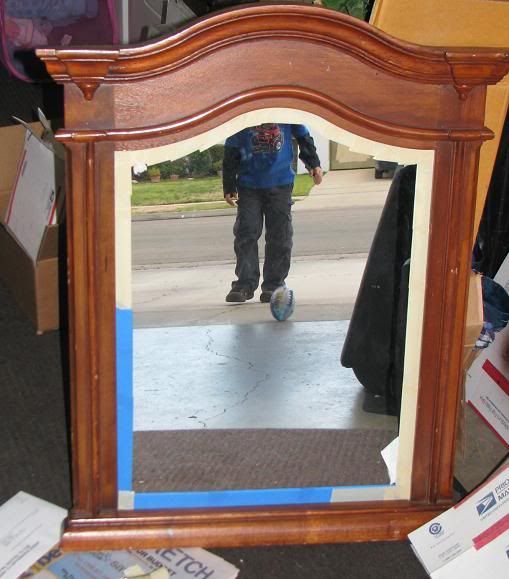
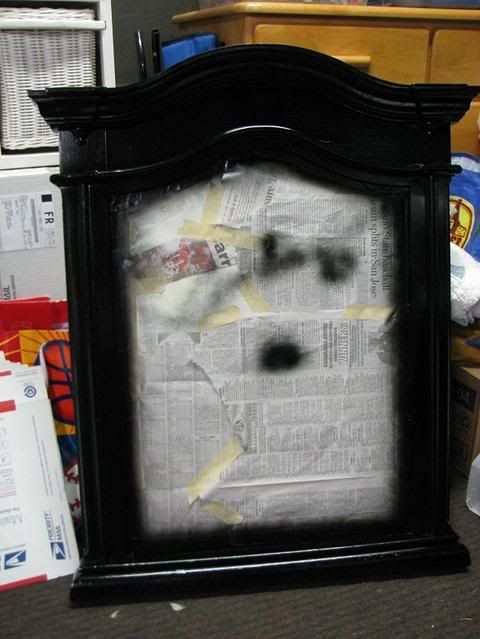
Back in February I discovered a "new to me" thrift store and got a great deal on this mirror. The store owner was asking $15 and I bargained with him and got it for $8. All along, I knew exactly what I would use it for but it took me a couple of months to get around to the project.

Here's what I did. . .

1) Wiped down the entire thing with a wet rag and taped off the mirror.

2) Spray painted the wood frame semi-gloss black two coats. I didn't let it dry a lot in between coats though. Just a couple of minutes. I wasn't looking for a perfect finish since I knew I was just going to scratch and scuff it up anyway.

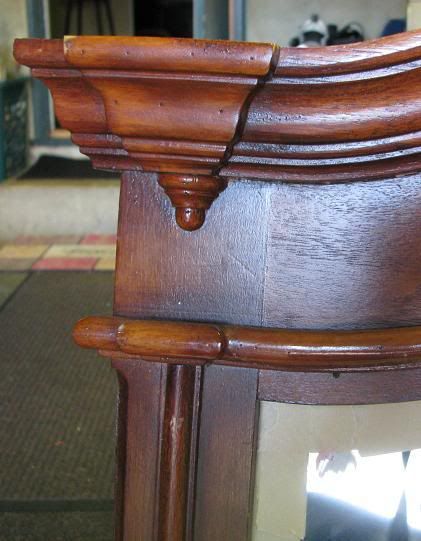
3) After letting it try about 30 minutes, I took varying grades of sandpaper to it to highlight some of the detail and give it a timeworn feel.  Then I dulled the entire finish with 0000 steel wool. I didn't want a shiny finish but since I only had semi-gloss paint on hand, I had to improvise. Steel wool gave it the satin/matte finish I was looking for.  I used a clean dry paint brush to dust off the sanding particles.

4) Then I opened up an almost empty can of water based dark walnut stain and wiped it all over the frame. With no waiting time, I wiped it off again. The stain stayed in some of the nooks and crannies and darkened some of the sanded areas.

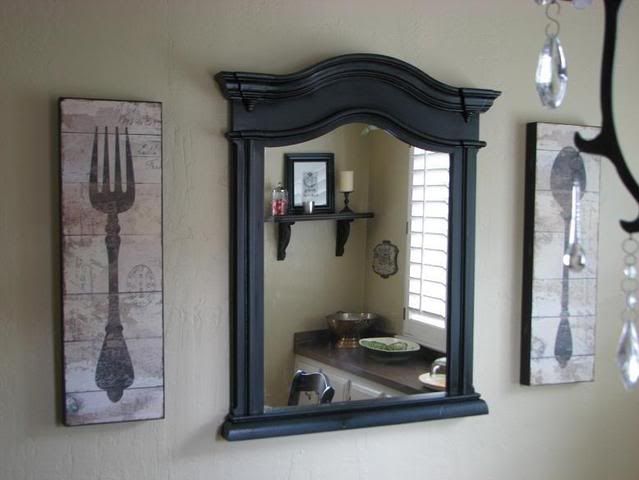
5) I sprayed a paper towel with Scott's Liquid Gold furniture polish, wiped the entire frame down, removed all the tape and newspaper, and hung it in my dining room.

I think this was one of the fastest makeovers I've ever done. Not bad for someone who's been nursing a cold for the past five days. I'm just so sick of being sick, I think I needed something creative to do to pull me out of my funk. I especially love how the mirror brings in the light from the window across from it. When Jason got home from work today, he noticed it immediately and he really loves it. Yay! (not like I was going to take it down if he didn't though, but it's always nice when he likes my projects).

 Mirror in its found state (minus the tape).

Photobucket

I love the detail.

Photobucket

Semi-gloss black spray paint.

Photobucket

The dining room wall used to look like this:

Photobucket

And now with the addition of fork and spoon wood prints I got on sale from World Market, it looks like this:

Photobucket


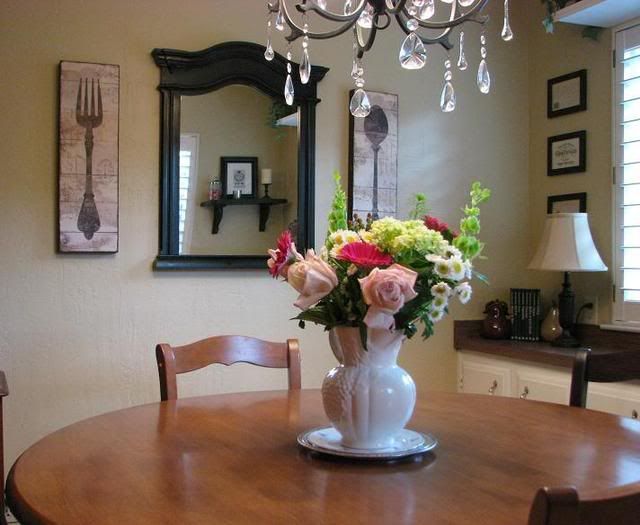
My Mother's Day flowers from Jason are the perfect accessory for this room.

Photobucket

Here are a few more things I've changed around in the dining room recently:

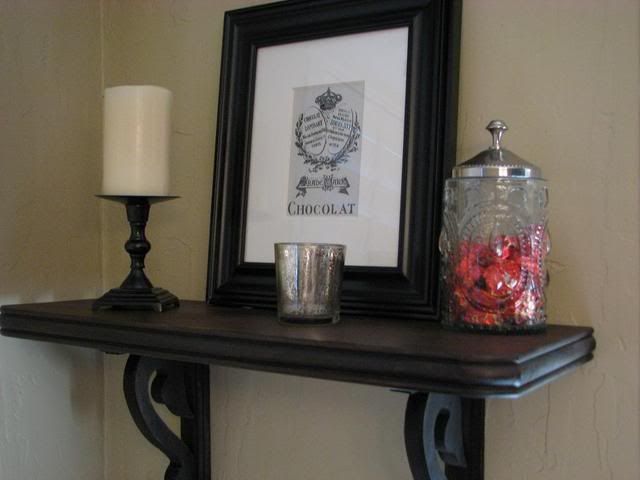
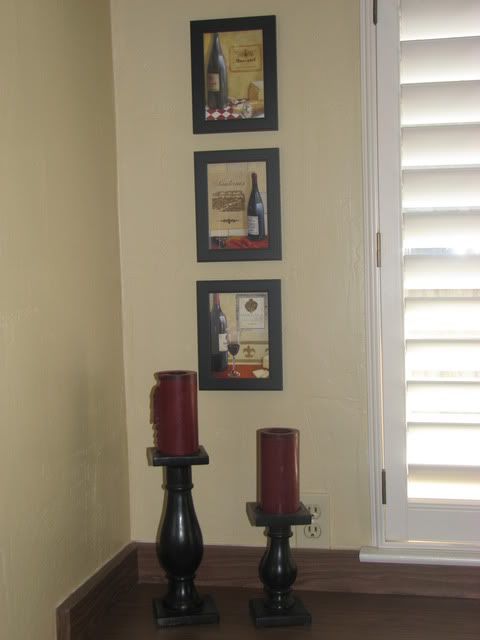
This vignette. . .

Photobucket

Became this. . .

(French chocolate print downloaded for FREE at The Graphics Fairy)
Photobucket
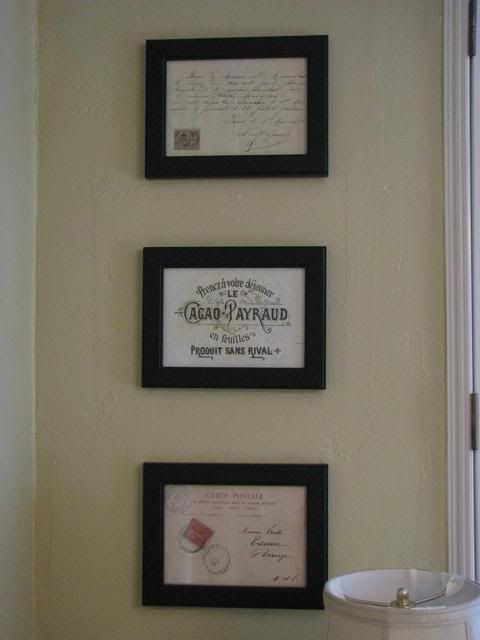
And this. . .

Photobucket


Became this. . .

(French postcards, letters and labels downloaded for free at The Graphics Fairy)
Photobucket


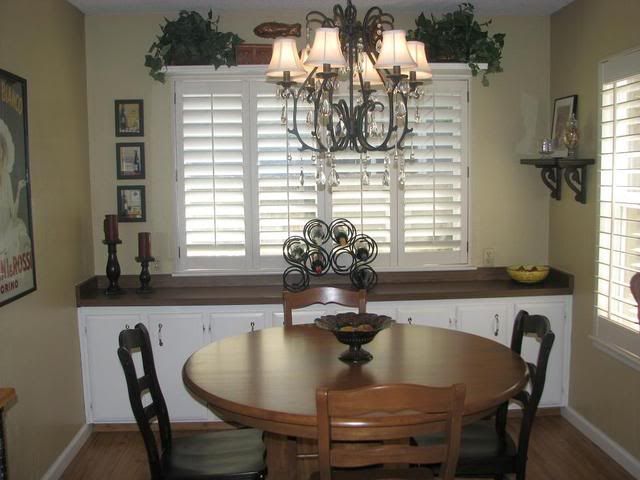
I shopped my house and garage for accessories, moved a few more things around and this dining room "before". . .

Photobucket

Became the new dining room "after."
 

Photobucket

Shared this project at Dumpter Diva's Cute & Creative linky party!

Come back and visit soon.

If you like my blog, please consider following me!

 Photobucket

Tuesday, April 12, 2011

"Distressed Finial" before and after (a Pottery Barn knock-off project)

Hi Nesters!

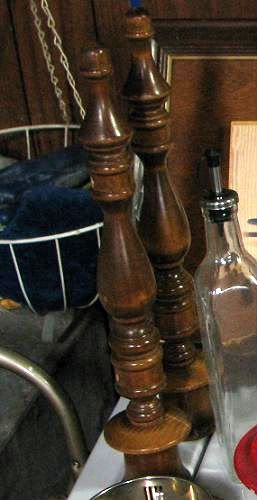
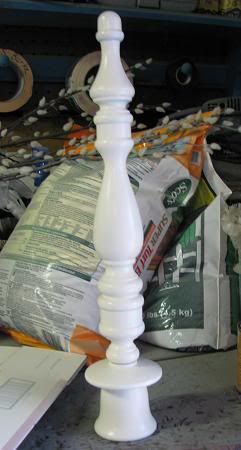
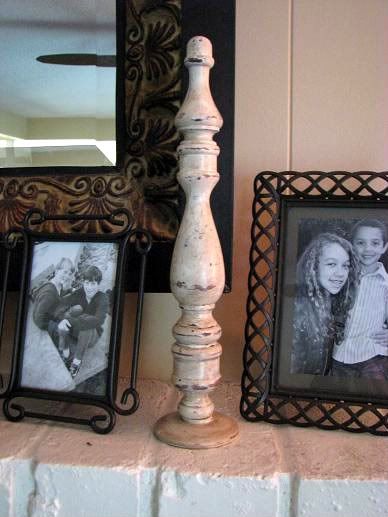
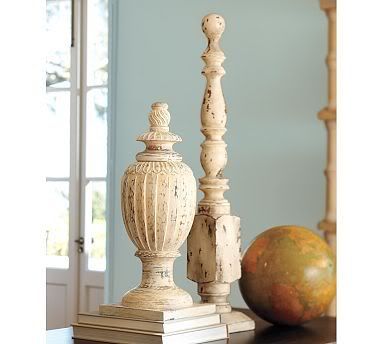
I'm sharing with you yet another Pottery Barn knock-off project. This time I took a $1.39 thrift store wood wall-mounted candle holder, turned it upside down added some paint, banged it up a bit and voila! Distressed finial.

Here are the steps:

1)  Washed and dried candle holder.

2)  Painted with Krylon Heirloom White spray paint and let dry completely. I did not use a primer first because I wanted the paint to come off easily when I distressed it.

3)  Used sandpaper and a chain (this part was fun) to remove some of the paint.

4)  Wiped all over with walnut ink but you can use a water based wood stain in a dark color to achieve the same effect.

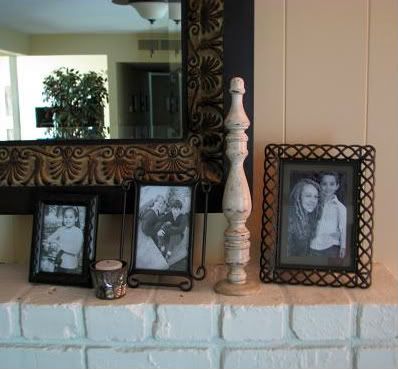
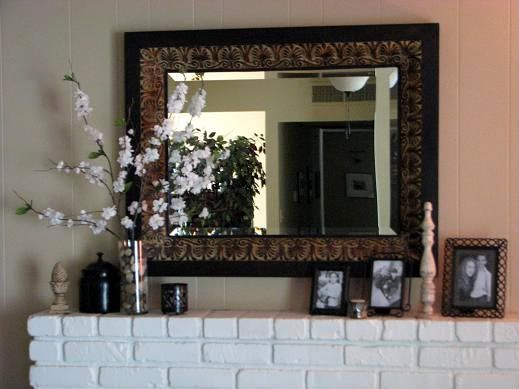
5)  I unscrewed the bottom bell-shaped piece so the finial would have a flatter bottom and then placed it on my mantel.


 Pottery Barn's Distressed Finial
 
Photobucket
 
Before
Photobucket

During
 
Photobucket

 
My finial "after"
 
Photobucket

Photobucket

Photobucket 
 

Thanks so much for checking out my latest project.  Have a great week!  Click HERE to check out my other projects/transformations.

Photobucket 

Sharing at:

Making the World Cuter Monday at Making the World Cuter
Get Your Craft on Tuesday at
Today's Creative Blog
Tip Me Tuesday at
Tip Junkie
Anything Related Tuesday at
All Thingz Related
Tuesday Trash to Treasure at
Rural Grace
Tutorial Tuesday at
Hope Studios
Transformation Thursdays at
The Shabby Chic Cottage
Everything But the Kitchen Sink Thursday at
A Little Knick Knack
Frugal Friday at
The Shabby Nest
Show and Tell Friday at
My Romantic Home
It's a Hodgepodge Friday at
It's a Hodgepodge Life
Saturday is Crafty Day at
Along for the Ride

Wednesday, April 6, 2011

Etsy Treasury Feature: "My Grandma's Kitchen"

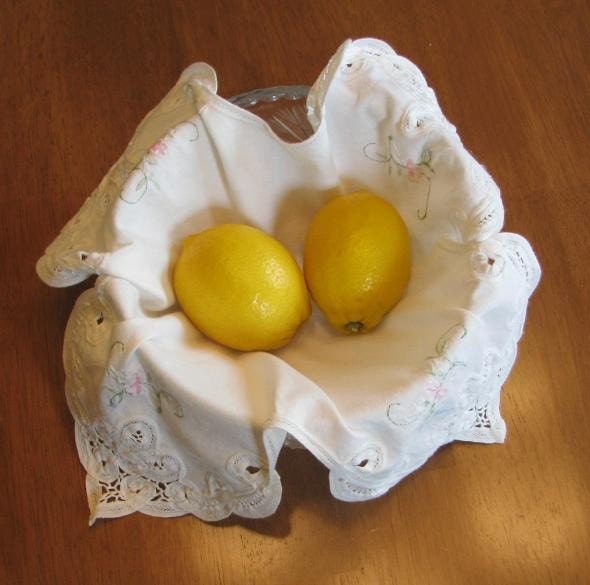
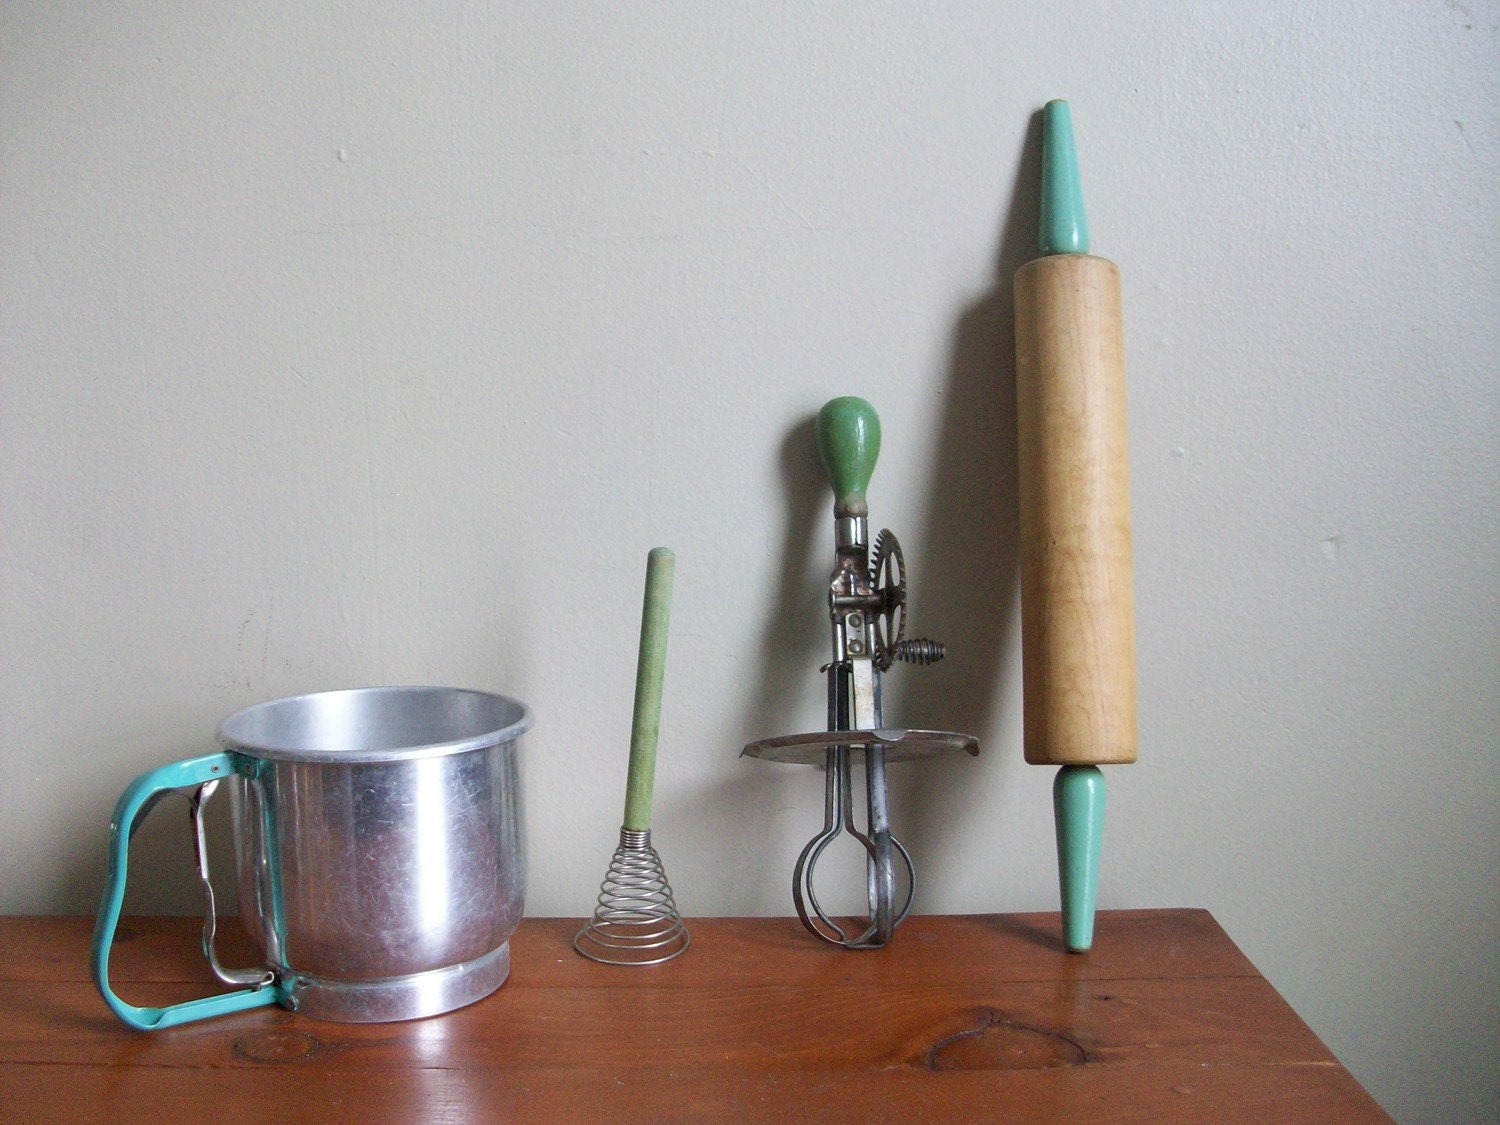
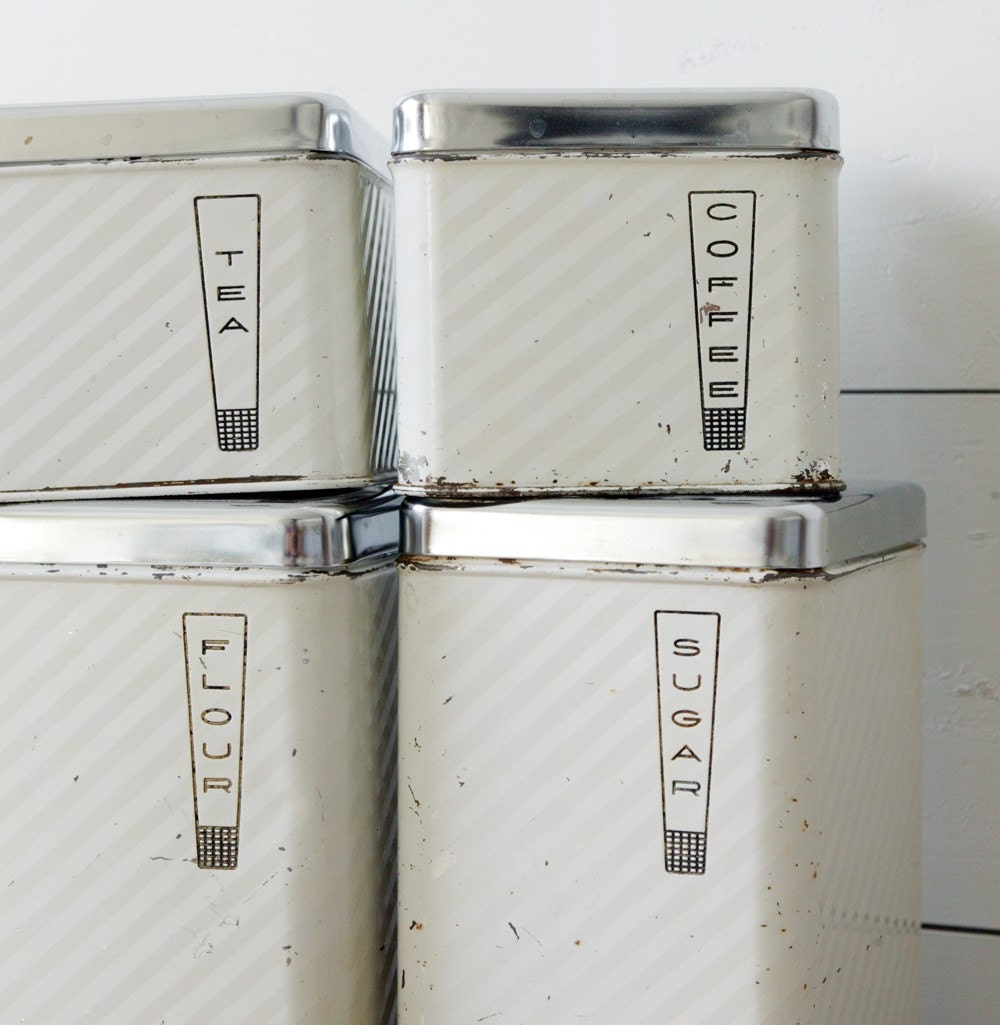
Today, I came across this Etsy treasury (created February 8th) in which my vintage bread basket liner (the photo with the lemons) was featured.  The curator of the treasury didn't notify me (all of the others have) so I never new that it was in fact my first ever Etsy treasury feature since my shop opened in February.  Some of the photos are missing in this treasury I believe because the items have sold since the posting of the treasury.  Now if someone would just buy my little "bun warmer."  ;)  ~ Robyn

'My grandma's kitchen' by prindle02

A little walk down memory road....


$

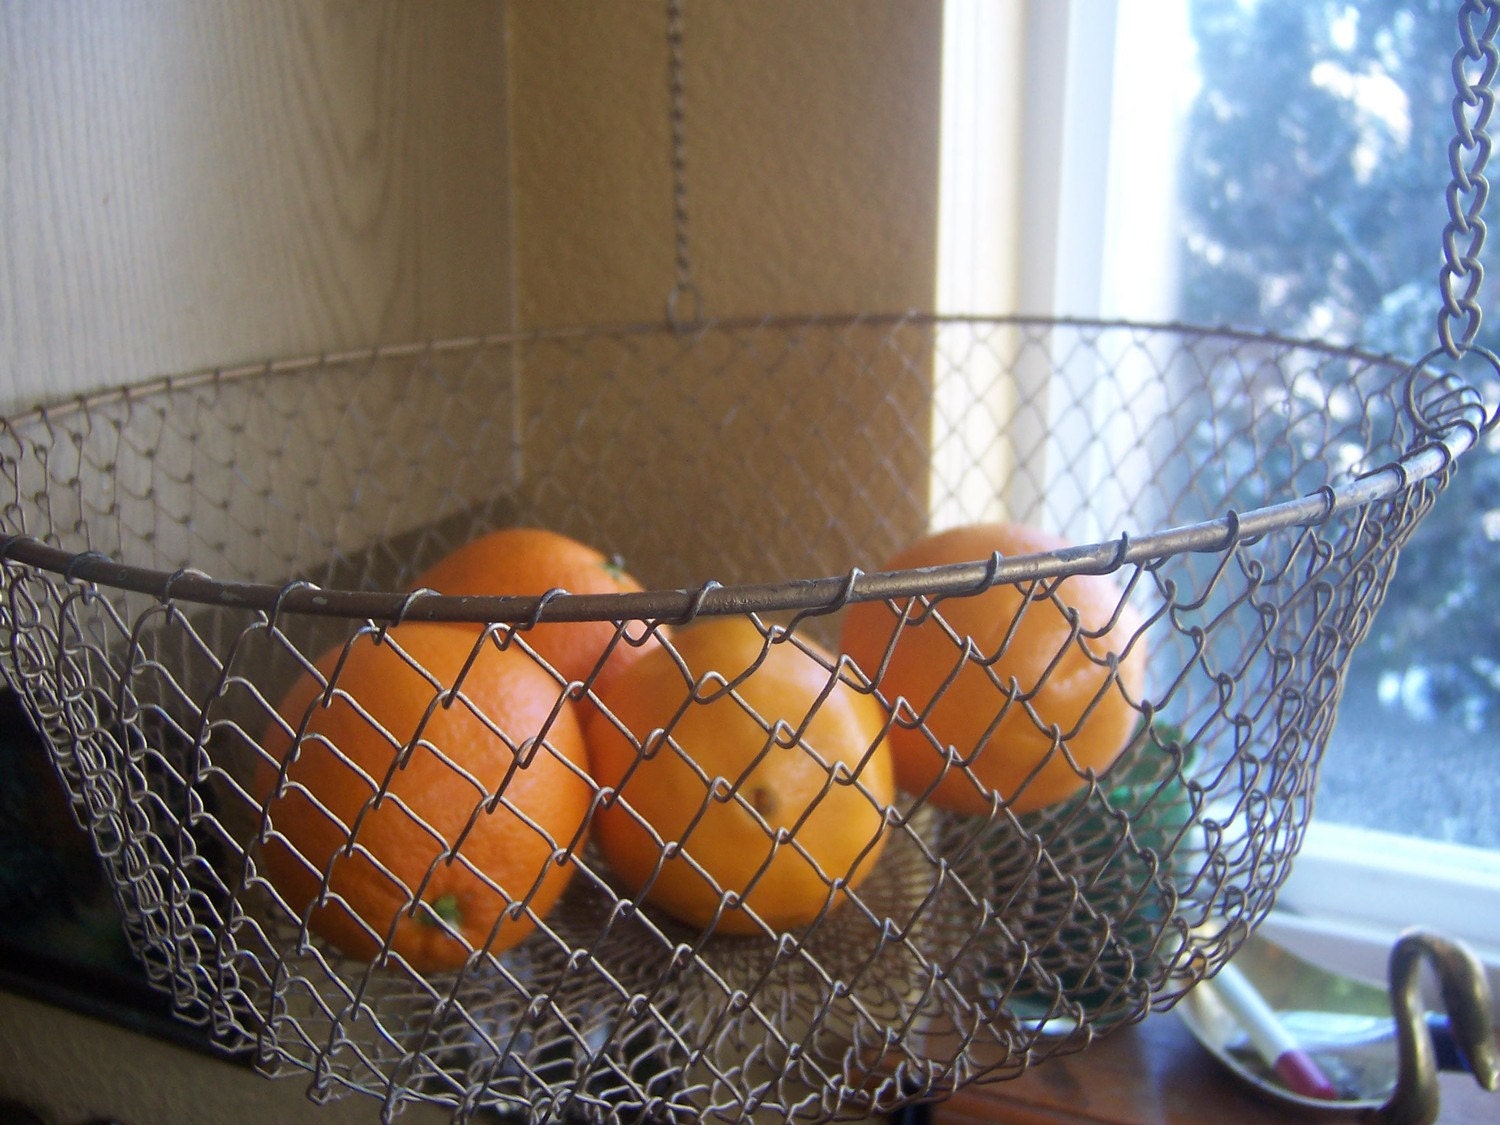
Warm Your Buns with this Cut...
$12.00

vintage shades of green rust...
$50.00

50s kitchen canister set for...
$35.00

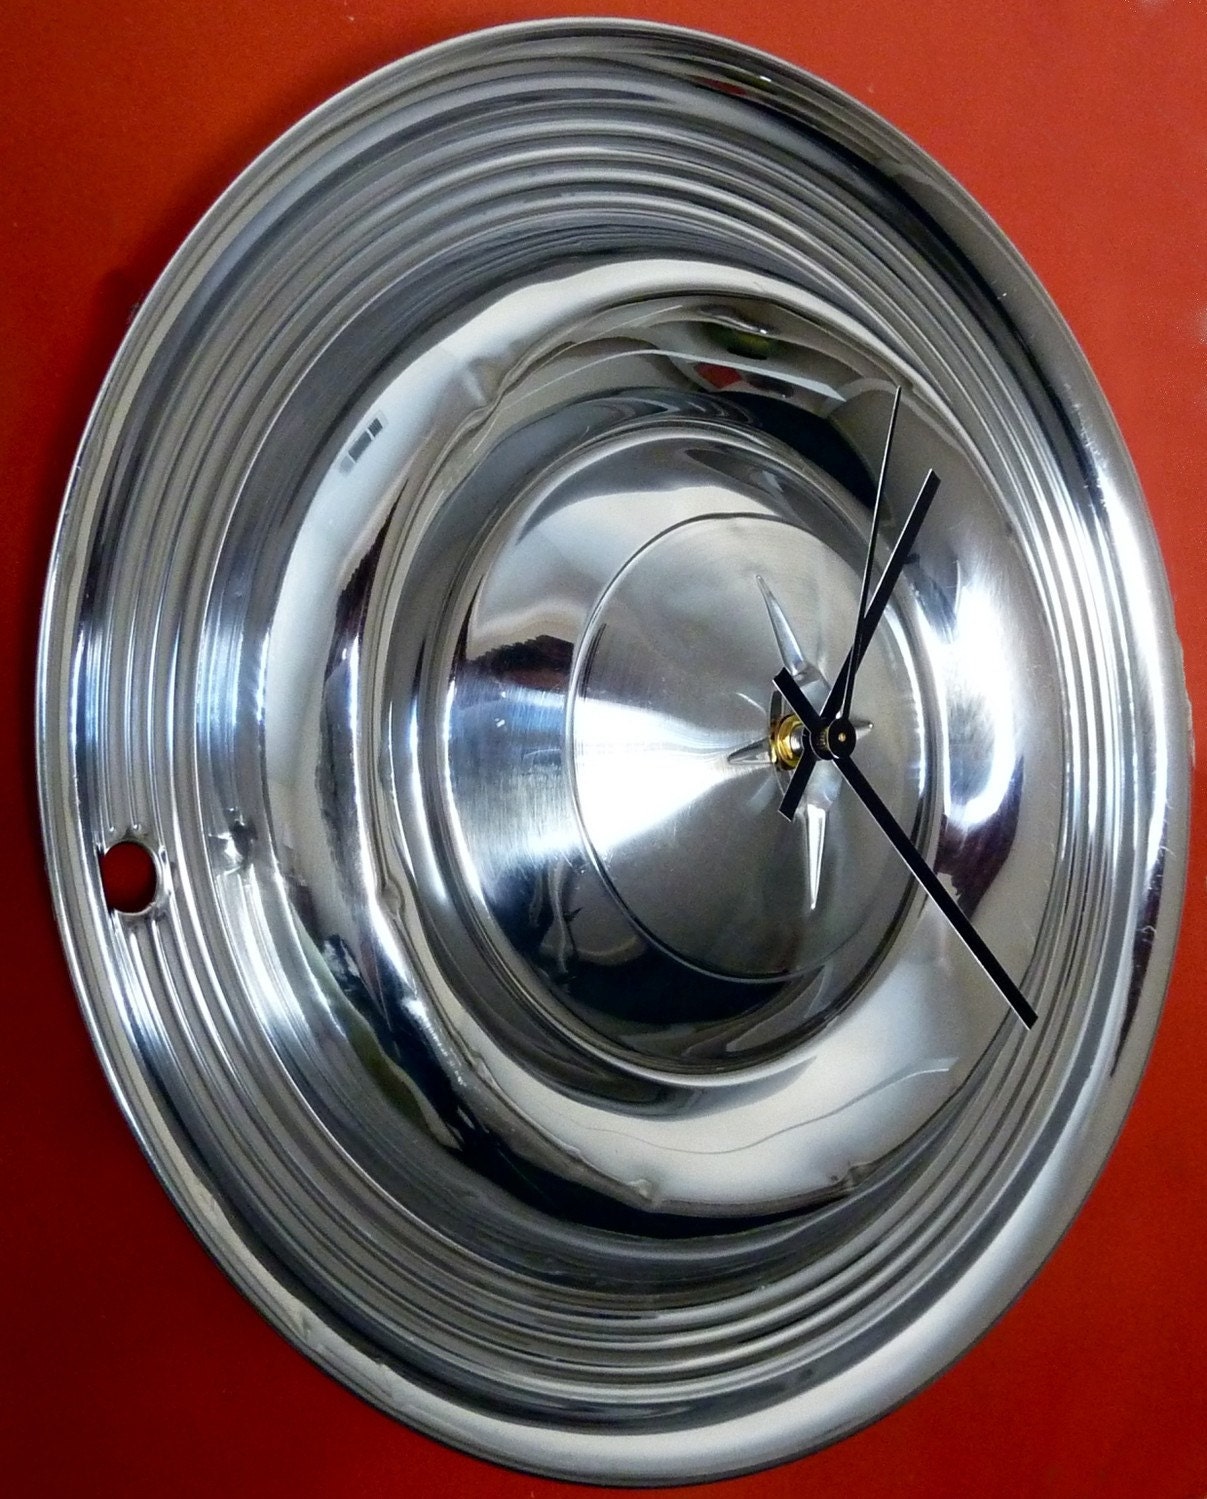
1957 Olds Hubcap clock
$35.00

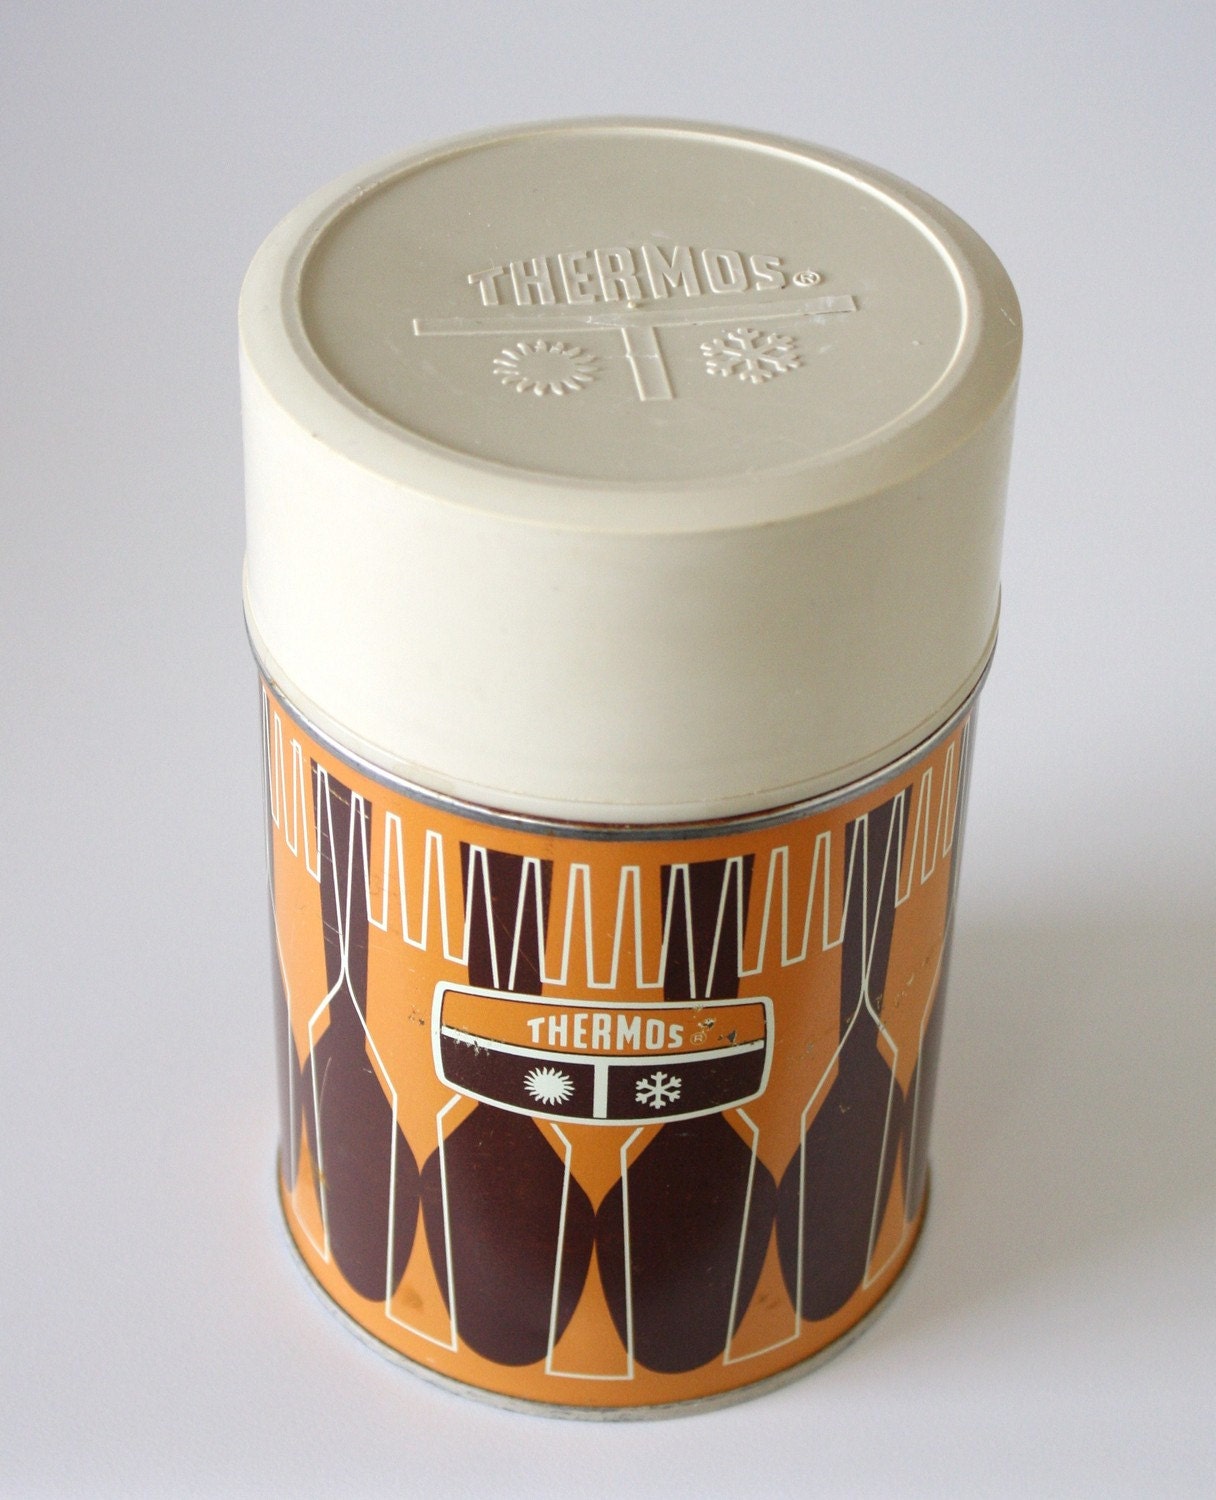
Vintage Yellow Thermos with ...
$11.00

Pair Vintage Diner Chairs. V...
$350.00

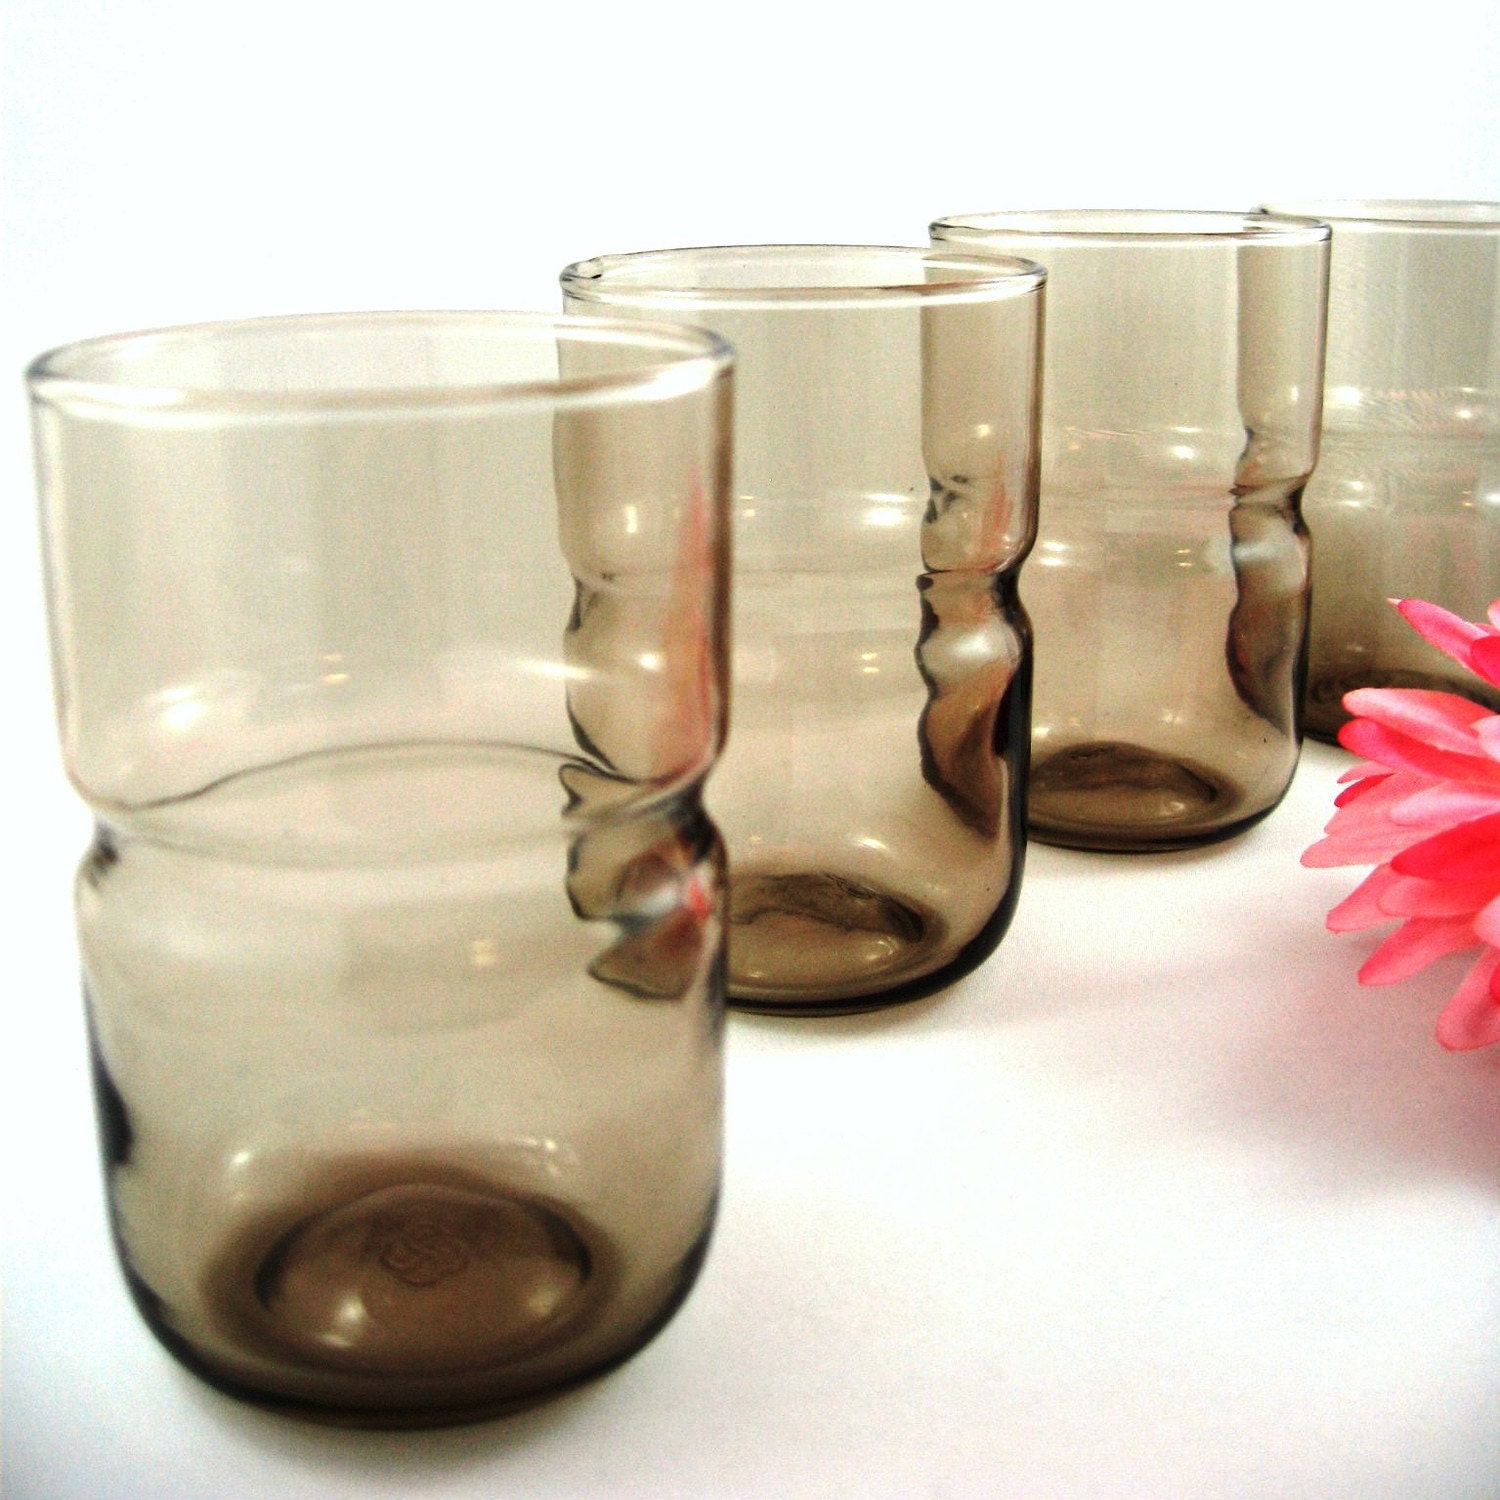
70s vintage mod smoked glass...
$16.00

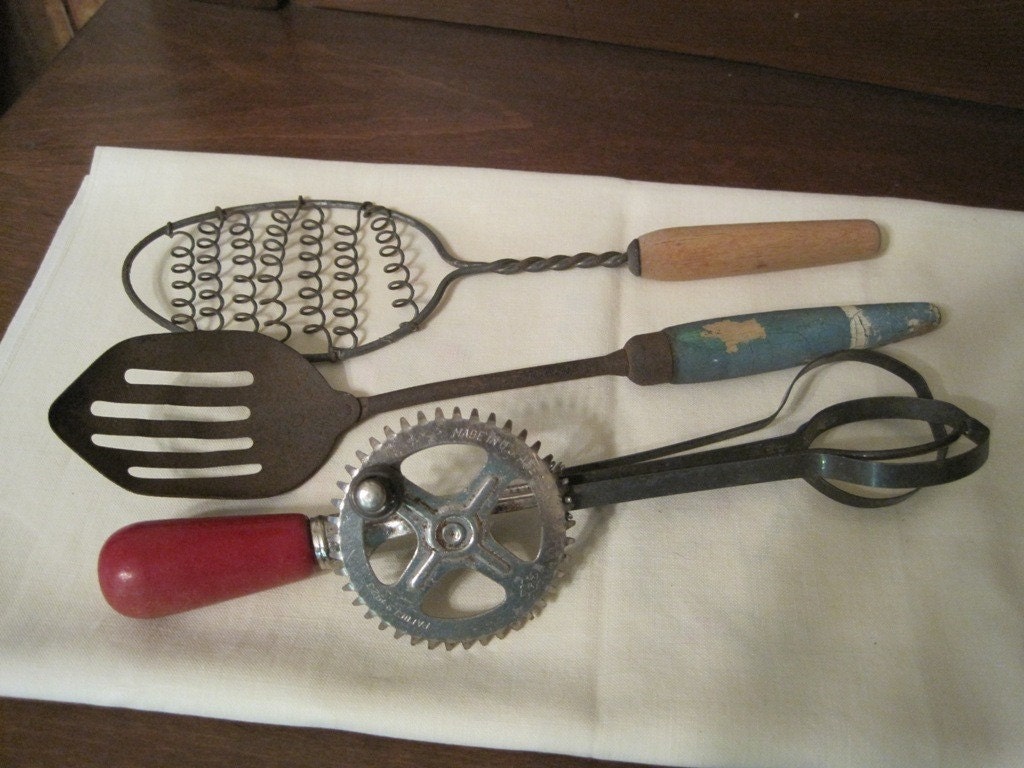
PRIMITIVE KITCHEN UTENSILS
$8.00

On The Rocks, Ice Cube Tray,...
$8.00

hung up
$

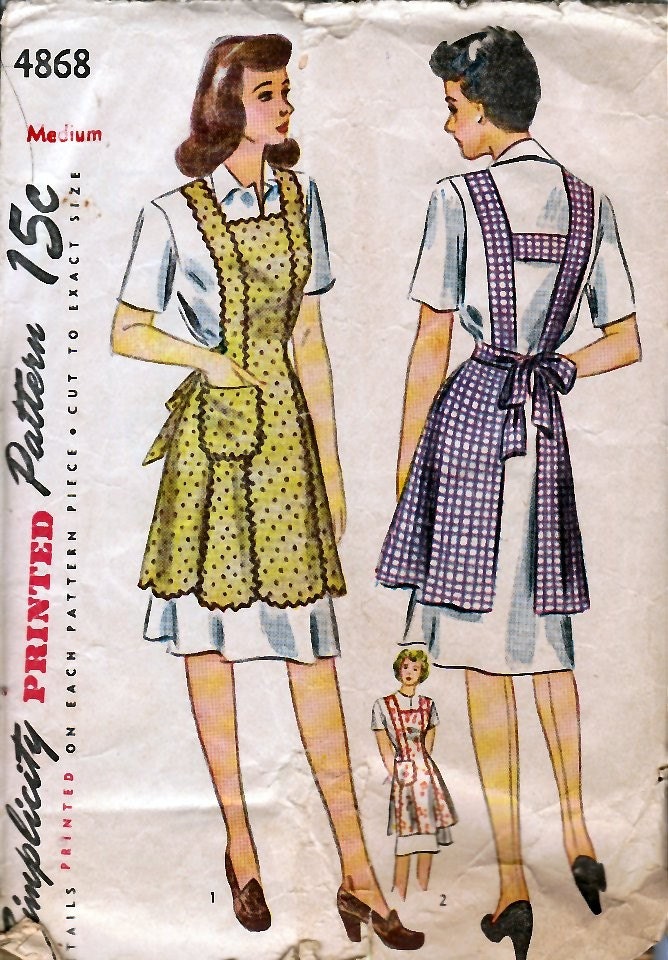
1940's Misses' and W...
$


$

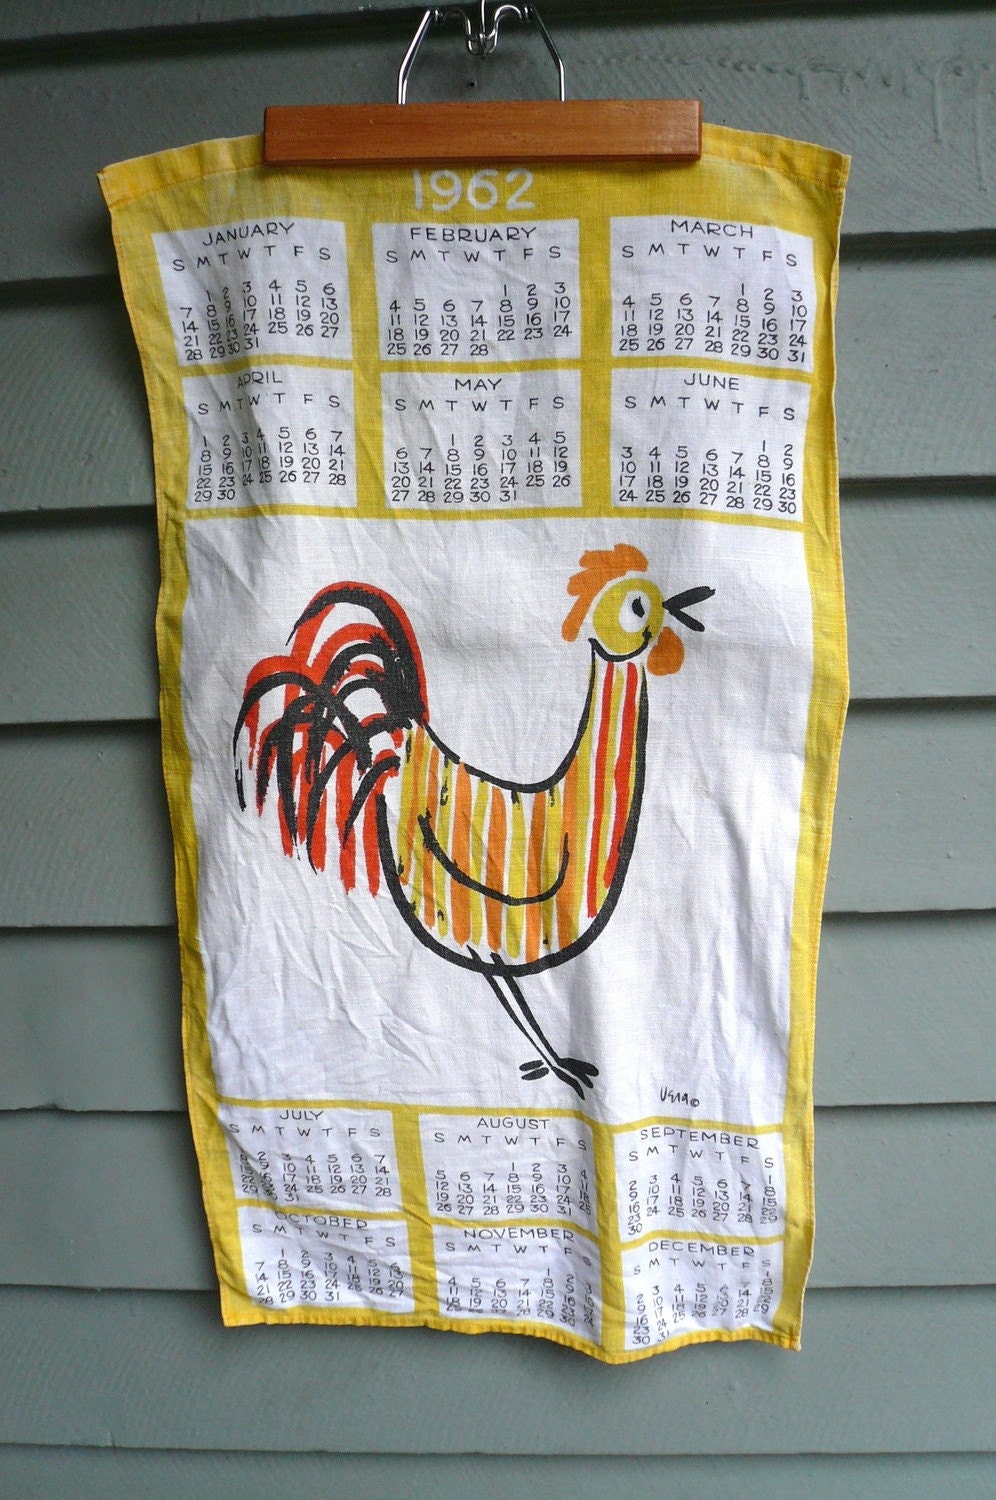
1962 Vera Calendar Tea Towel
$22.00

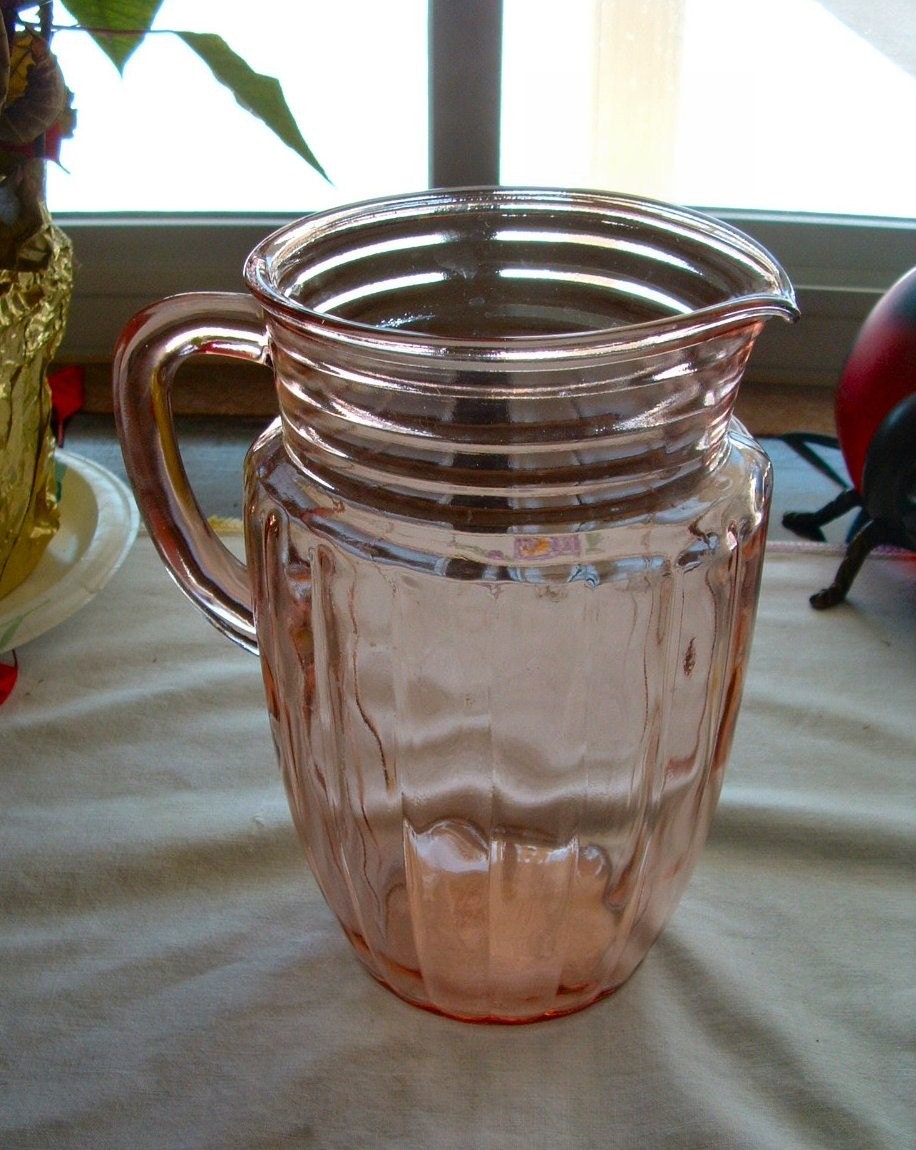
Pink Depression Pillar Optic...
$80.00

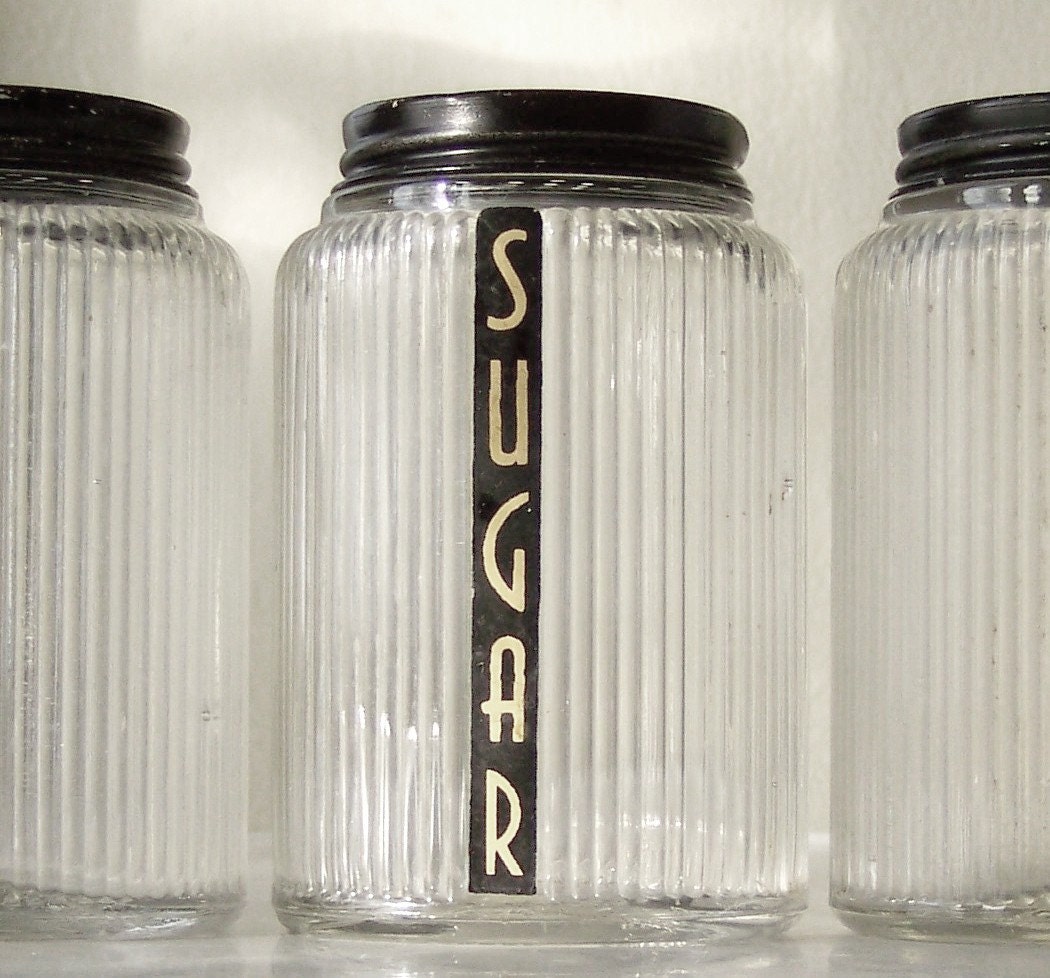
Hoosier Cabinet Shaker Set, ...
$72.00
Photobucket
Related Posts Plugin for WordPress, Blogger...

NO STEALING ZONE. . .

NO STEALING ZONE. . .
I like to share, but please don't use my blog content (pictures, text, anything) without asking permission. Thank you!