Showing posts with label decor. Show all posts

Monday, July 14, 2014

Treasure Hunting

We're changing Sierra's bedroom around again so we went thrifting to look for a coffee table or dresser that could be DIY'd into a t.v. stand.  We didn't find that on this outing but we did find lots of other goodies.  The most expensive item is the wood swivel desk chair at ($59), which is a huge bargain considering Pottery Barn sells a nearly identical chair for $400.  The globe was $7 and everything else was less than $3.  The globe and vintage cash box were Cameron's finds, the metal candle holders, green beaded bowl and aqua ceramic tray were Sierra's finds, the rest were mine.


Please come back and visit soon.
Photobucket

Sunday, March 25, 2012

Nice weather for a project

We were expecting rain this weekend but when Saturday turned out to be sunny and warm-ish with just a slight breeze, I got the itch to undertake a project I've been contemplating for quite some time.  So outside I went with my hand-me-down vintage looking dresser turned microwave cart.

One day last year, my mom and I visited her storage unit for something completely unrelated to this little dresser (isn't that how things always happen?).  The dresser, which I believe used to belong to my sister-in-law is something you would find in an unfinished furniture store.  It's solid wood with dovetail construction and no metal/plastic workings.  However, it's not a vintage piece.  It has two small holes in the top (possibly it used to have an attached mirror).  I immediately saw the potential in it and asked my mom if I could take it home.  Looking to eventually be free of her rental storage unit, she said yes.
 
Our kitchen counter space is limited so years ago (we purchased our home 14 years ago) I constructed this shelf to hold our microwave.  The open shelf cart was being used for storage and was practical but an eyesore in my opinion.  I have issues with visual clutter.


To give you an idea of where this cart was situated in our kitchen/dining area, here are a few pictures of those spaces.

This photo below is taken while standing in the dining area.


The door to the garage is just to the right of the stainless trash can you see in the bottom right corner of this photo.  The cart was located to the right of the door.


This photo was taken standing at the far end of the kitchen (duh).  You can see the microwave and cart over there on the left side of the dining area.  Lucky for us, its location didn't impede the pulling out of the chairs in any way.  The table is a 50" round and there is room to pull the chairs out comfortably and still walk by (if you suck it in while doing so--ha ha).


Okay, so now that you have a feel for the layout of the rooms, onto the project. . .

We tried using the dresser as an entry table for a little while but it was a bit too big for the space.  I decided it would be more useful in our dining area as a replacement for the cart.

Photobucket


This dresser sat in our dining area for several months being used in the same fashion as it is now, but just in its found state.  I purchased oil rubbed bronze (ORB) bin pulls on eBay for less than $2 a pull with the idea that when I made the time and the weather cooperated, I would paint the dresser and attach the new pulls.

Photobucket


The dresser didn't have a coat of varnish on it so I just painted directly onto the wood using two coats of white semi-gloss paint I had on hand.  I left the top unpainted because that's where the microwave would sit and it would just scratch the paint up.  Plus, I've seen on more than a few blogs people who have painted dressers and left the top natural and I looove the look.


I used fine sandpaper to scuff up all of the edges to bring out the detail.  This dresser is going to get lots of use and pre-aging it will make the marks we put into it not as noticeable.


ORB pulls are attached.

I love how rich the top looks in contrast with the white.


I think the dresser takes up less visual space and looks more "finished" now that it's painted.  I store small Tupperware/Rubbermaid containers, reuseable water bottles and such in the drawers (things that easily get lost in the back of a deep kitchen cupboard).
 

I'm thinking about adding a towel bar on the left side and maybe a hook or two on the right for potholders.


There is plenty of  space for Rosie's food dishes and room to walk around the table.


I love how this turned out so I am purchasing all new ORB for the kitchen cabinets.  Everything will then have a cohesive look.  I'm very excited about that project.


Please come back and visit soon.

If you like this post, I hope you will consider following my blog!


Photobucket 

I joined this linky party:

Mondays at Between Naps on the Porch

Show Off Your Cottage Monday

DIY Project Parade

Friday, November 11, 2011

Decorating updates and Etsy finds

Hi Nesters,

I've done a little bit of decorating to cozy up our home for the changing season and I thought it would be fun to share the updates with you.

I originally purchased this little chair to sit in front of part of our sliding glass door in the family room.  I thought it would be extra seating for company.  Well, we don't entertain all that often, but when we do, it's usually in small groups and our current family room seating is adequate.  I missed the open feeling of having nothing in front of the window so I moved the little chair to our media room, which would be considered the formal living room in most houses.  But since we don't entertain formally, it's better used as a media room.  We definitely can use extra seating in here and the chair is finally getting some use.


 I painted the chalkboard frame white and added a tray with a small framed clock print, a clock coaster used as a candle holder, a faux herb plant, and a wooden bowl for chalk.  The chalkboard now says, "Time flies when you're having fun!"
I've made some recent pillow purchases on Etsy.  There are so many talented people out there, you are bound to find something to suit your decor.  I purchased the crown and bee/wreath pillow covers as a set from Simply French Market, the double frayed ruffle pillow cover from The Industrial Cottage and the Swiss cross pillow cover from Red Bird Vintage Home.

The mercury glass lamp is also another recent find from Tuesday Morning.  It has a black French label on it which adds to its vintage style charm.  It even came with the perfect woven shade.


 My new entry wall decor and tablescape.Wood vintage eye chart inspired art "The meaning of life is quite simply whatever you want it to be."
 And in case you haven't seen my previous home tour, here's a mini tour so you can imagine where my tiny 46" entry wall is situated.


Please come back and visit soon.

I hope you will consider following my blog!


Photobucket

Friday, October 28, 2011

Ugly serving tray redo and tutorial

Hi Nesters,

The weather's no longer scorching hot here (90's to low 100's most of the summer) so I've been able to get back out in my workshop. I purchased this sad (in my opinion) serving tray at the Salvation Army with the idea that it would never ever look like it's original form once I was finished with it. Aside from the aesthetics, it was in very good condition with no chipping, cracks, etc. Here's what I did to transform it:
  • Wiped it down with a damp cloth and let it air dry.
  • Gave it two coats of Rost-oleum Wet or Dry Sandable Primer in #1980 Gray Primer, drying between coats.
  • Sprayed two coats of Rust-oleum Painter's Touch Ultra Cover in Satin Heirloom White, drying between coats.
  • Using 200 grit sandpaper, I roughed up the edges here and there to give it an aged feel.
  • Then with a damp rag, I applied (especially in the nooks and crannies) Minwax Water-Based Wood Stain in Colonial Pine
  •  I let it sit overnight to dry completely and then I put it on our family room table to display some of my favorite things.  The whole project took just a couple of hours and most of that was drying time.
I love how it turned out.  It really makes the objects look grounded on the table.  I have a few other thrift store trays of varying sizes in the works next.  I'm thinking about using one on my nightstand or dresser and maybe selling the other one in my Etsy shop (if I can bear to part with it).


**Shared this post at Dumpster Diva's Cute & Creative linky party!


Please come back and visit soon.

I hope you will consider following my blog!


Photobucket

Monday, May 9, 2011

Thrift store mirror makeover and some other dining room changes

Hi Nesters,

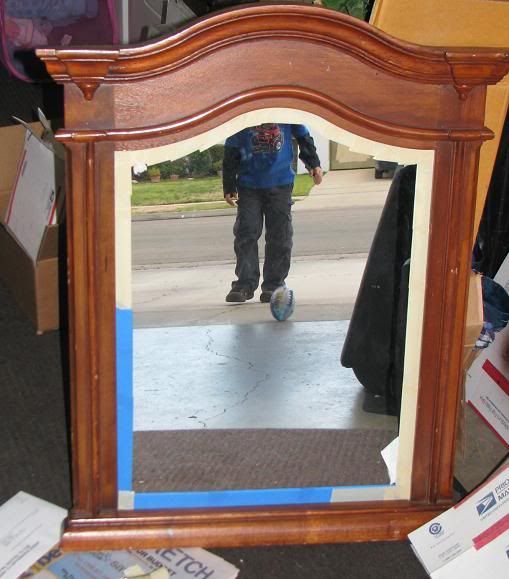
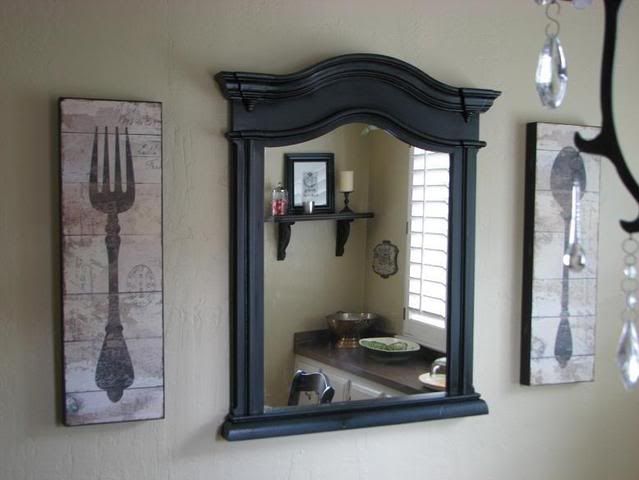
Back in February I discovered a "new to me" thrift store and got a great deal on this mirror. The store owner was asking $15 and I bargained with him and got it for $8. All along, I knew exactly what I would use it for but it took me a couple of months to get around to the project.

Here's what I did. . .

1) Wiped down the entire thing with a wet rag and taped off the mirror.

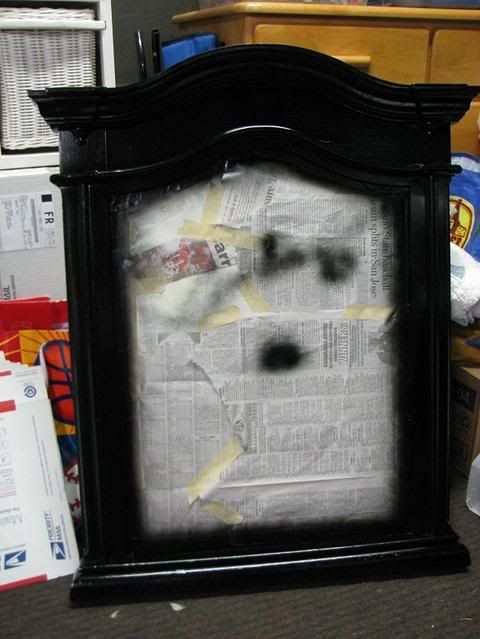
2) Spray painted the wood frame semi-gloss black two coats. I didn't let it dry a lot in between coats though. Just a couple of minutes. I wasn't looking for a perfect finish since I knew I was just going to scratch and scuff it up anyway.

3) After letting it try about 30 minutes, I took varying grades of sandpaper to it to highlight some of the detail and give it a timeworn feel.  Then I dulled the entire finish with 0000 steel wool. I didn't want a shiny finish but since I only had semi-gloss paint on hand, I had to improvise. Steel wool gave it the satin/matte finish I was looking for.  I used a clean dry paint brush to dust off the sanding particles.

4) Then I opened up an almost empty can of water based dark walnut stain and wiped it all over the frame. With no waiting time, I wiped it off again. The stain stayed in some of the nooks and crannies and darkened some of the sanded areas.

5) I sprayed a paper towel with Scott's Liquid Gold furniture polish, wiped the entire frame down, removed all the tape and newspaper, and hung it in my dining room.

I think this was one of the fastest makeovers I've ever done. Not bad for someone who's been nursing a cold for the past five days. I'm just so sick of being sick, I think I needed something creative to do to pull me out of my funk. I especially love how the mirror brings in the light from the window across from it. When Jason got home from work today, he noticed it immediately and he really loves it. Yay! (not like I was going to take it down if he didn't though, but it's always nice when he likes my projects).

 Mirror in its found state (minus the tape).

Photobucket

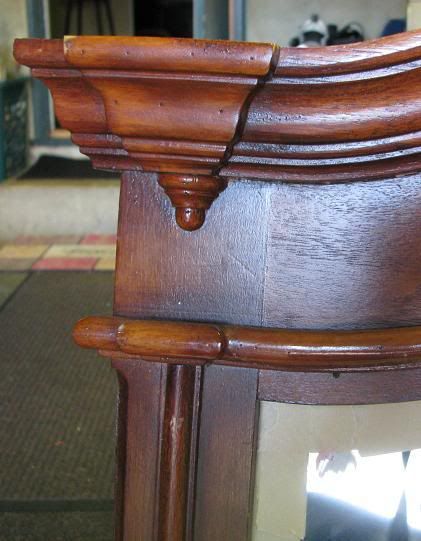
I love the detail.

Photobucket

Semi-gloss black spray paint.

Photobucket

The dining room wall used to look like this:

Photobucket

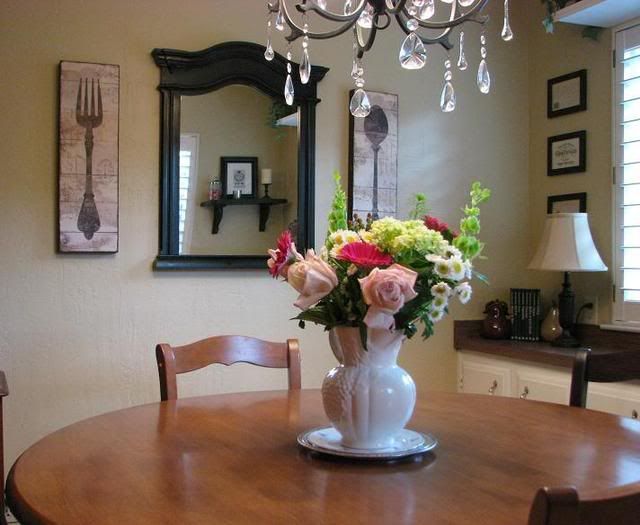
And now with the addition of fork and spoon wood prints I got on sale from World Market, it looks like this:

Photobucket


My Mother's Day flowers from Jason are the perfect accessory for this room.

Photobucket

Here are a few more things I've changed around in the dining room recently:

This vignette. . .

Photobucket

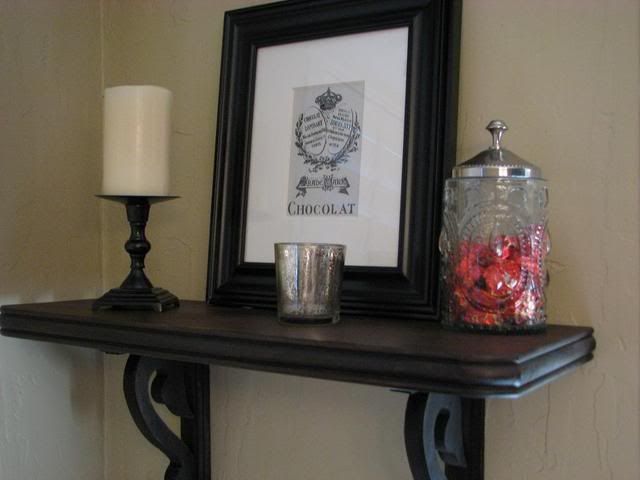
Became this. . .

(French chocolate print downloaded for FREE at The Graphics Fairy)
Photobucket
And this. . .

Photobucket


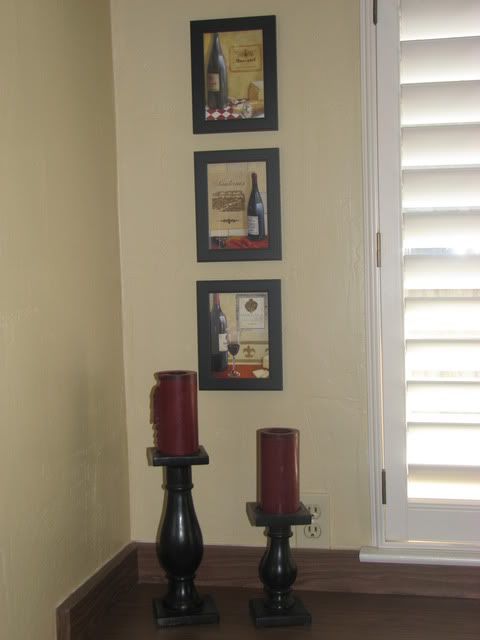
Became this. . .

(French postcards, letters and labels downloaded for free at The Graphics Fairy)
Photobucket


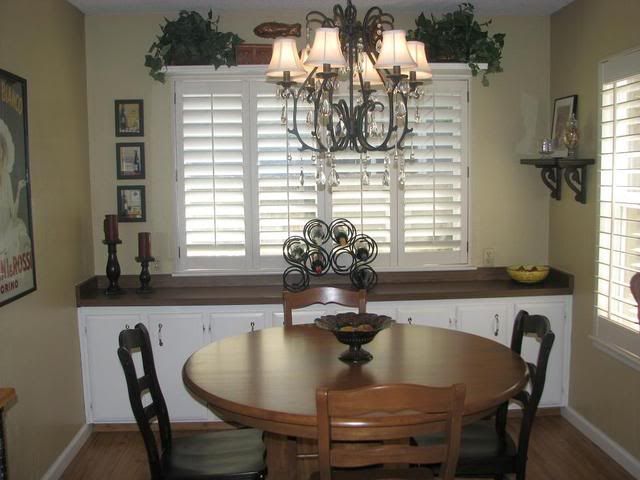
I shopped my house and garage for accessories, moved a few more things around and this dining room "before". . .

Photobucket

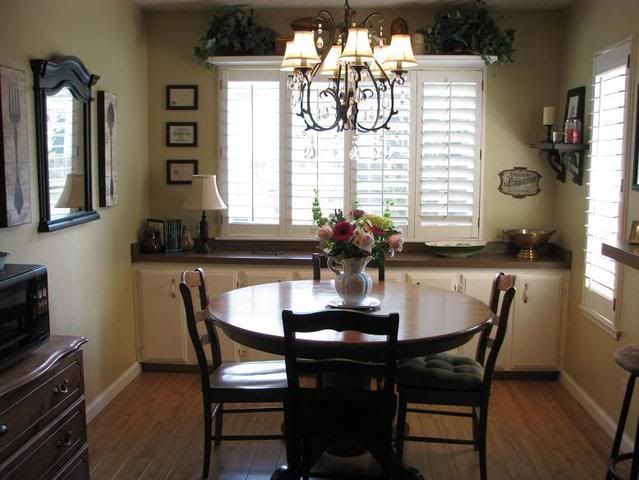
Became the new dining room "after."
 

Photobucket

Shared this project at Dumpter Diva's Cute & Creative linky party!

Come back and visit soon.

If you like my blog, please consider following me!

 Photobucket
Related Posts Plugin for WordPress, Blogger...

NO STEALING ZONE. . .

NO STEALING ZONE. . .
I like to share, but please don't use my blog content (pictures, text, anything) without asking permission. Thank you!