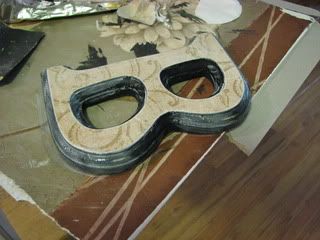
Hi Nesters,
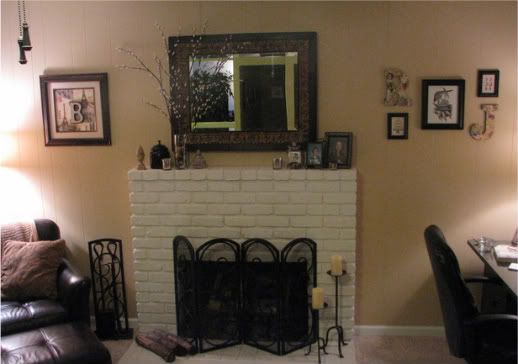
Here's the second part of the wall art project I worked on last weekend. If you missed it, here's part I (Deconstructed Wall Art). I'm showing you the reveal first because I know you'll just scroll down to the bottom before you finish reading this post anyway. ;)
If you're interested in how I did this project, check out the rest of the post...I've given you a little tutorial.
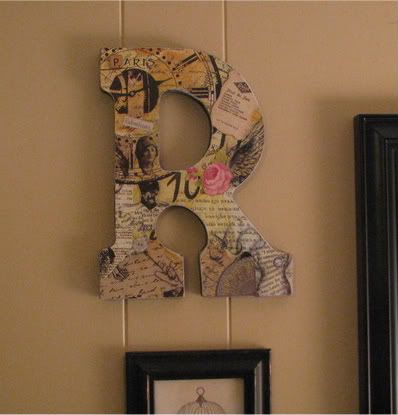
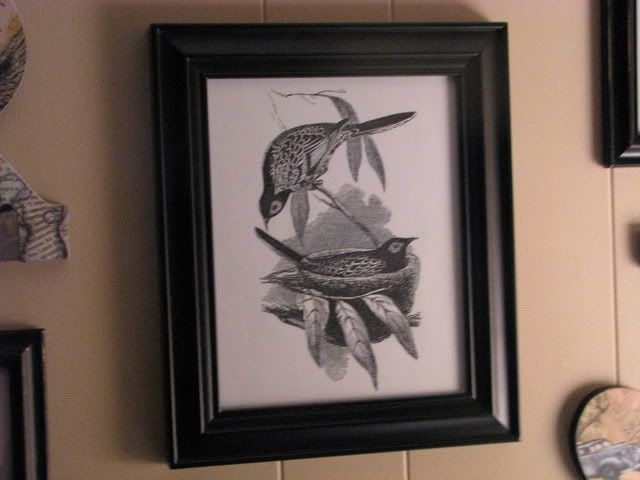
Decoupaged initials and bird, egg and bird cage graphics adorn our family room wall (cause you know I love me some "bird" stuff)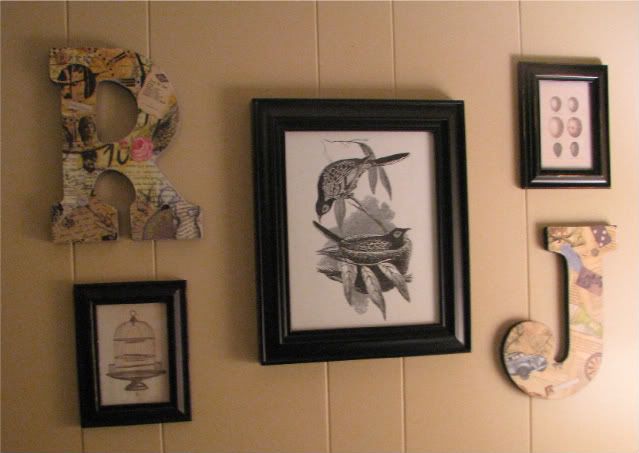 "R" for Robyn (that's me)
"J" for Jason (my husband)
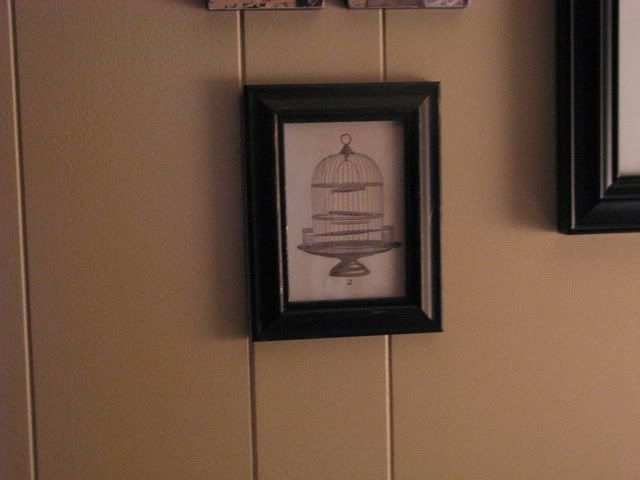
Vintage bird cage graphic
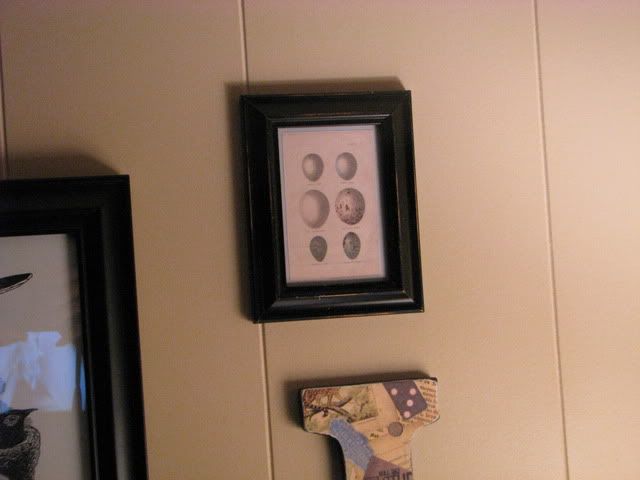
Vintage bird eggs graphic
Before: A similar picture to the one you see here on the left was hanging on right side of the mirror. I don't have a before photo of them all together, but you get the idea.
Tutorial:
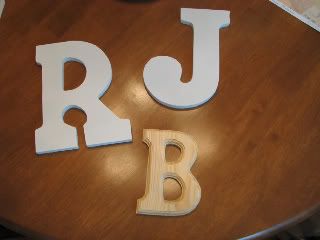
I started out with MDF (medium density fiberboard) letters that were painted white from the craft store. They had a hanging hole already drilled in the back but they didn't hang straight so I used 3M foam adhesive squares.
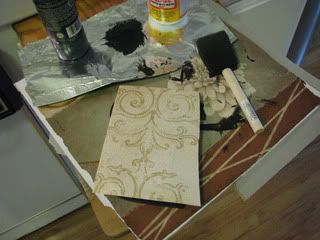
- I painted each letter (top and sides) with soft black acrylic craft paint
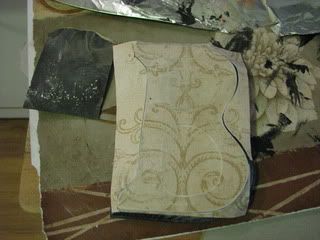
- Then I affixed scrapbook paper to the top of each letter using Mod Podge (I did not top coat it yet)
- I used sandpaper to remove the excess paper and give the edges a timeworn look
- I added paper embellishments to each letter (words, pictures, scrabble tiles, etc.)
- I covered the entire project with a coat of Mod Podge to seal it
- For the graphic prints, I went to The Graphics Fairy and downloaded them (for FREE!) and printed them in the sizes I needed onto card stock. I then shopped my closets and found some frames I wasn't using. One of the smaller ones was antique gold so I gave it a quick coat of the soft black acrylic craft paint and then roughed up the edges to give it a vintage-y feel.
Again, the final result!
Thanks for checking our my latest home project. If you enjoyed this post, please add yourself as a follower ("Nester").
I'm sharing this project at:
- Brag Monday at The Graphics Fairy
- Making the World Cuter Monday at Making the World Cuter
- Get Your Craft on Tuesday at Today's Creative Blog
- Tip Me Tuesday at Tip Junkie
- Anything Related Tuesday at All Thingz Related
- Tuesday Trash to Treasure at Rural Grace
- Tutorial Tuesday at Hope Studios
- Transformation Thursdays at The Shabby Chic Cottage
- Everything But the Kitchen Sink Thursday at A Little Knick Knack
- Frugal Friday at The Shabby Nest
- Show and Tell Friday at My Romantic Home
- It's a Hodgepodge Friday at It's a Hodgepodge Life
- Saturday is Crafty Day at Along for the Ride
- Marvelously Messy
