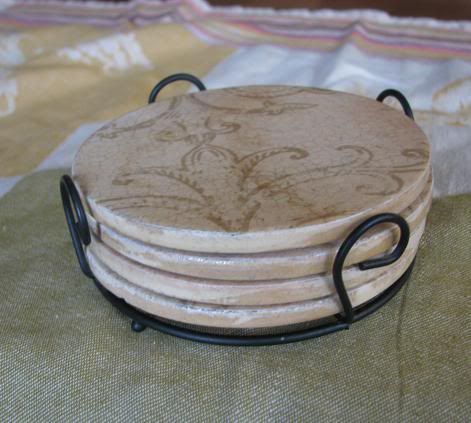
Today's post is the first of a few "repurposing" projects I've worked on over the past few weeks. This one I did earlier this month. But I caught an awful cold bug and was down off and on (a mom's job doesn't stop when she's sick) for two weeks so I'm just now getting around to posting it. The other projects I'll be posting shortly are ones I did this past week while my son was out sick from school. Poor guy had a stuffy nose, cough and fever (usually around 100.4 but got as high as 101.5 on the last day) and missed an entire week of school. First up is my coaster project.
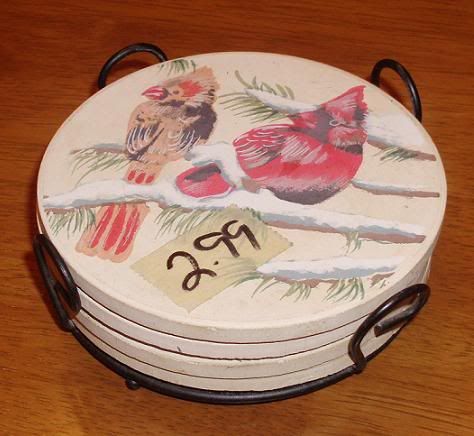
I've never really found coasters that were to my liking. I've found some that were "good enough" and utilitarian but none that I would actually consider leaving out on my coffee. Still not sure if I'll leave these out all the time, but at least they're cute. Okay, so I decided that I would search for some coasters that were ugly and cheap (easier to do than I thought) and redo them to suit my taste. My first stop, I visited a thrift store which is located a few doors down from my neighborhood grocery store and I found exactly what I was looking for. . .
Here's what I did:
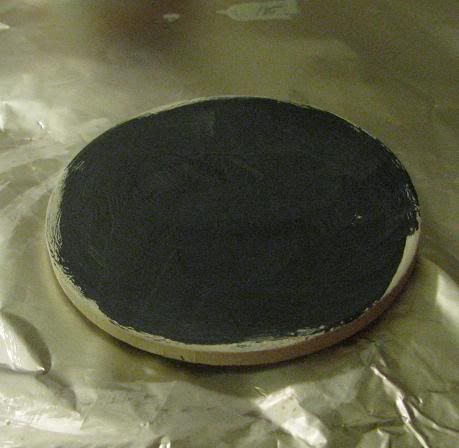
1) Cover the top of the coasters with one coat of flat black acrylic craft paint and let dry.
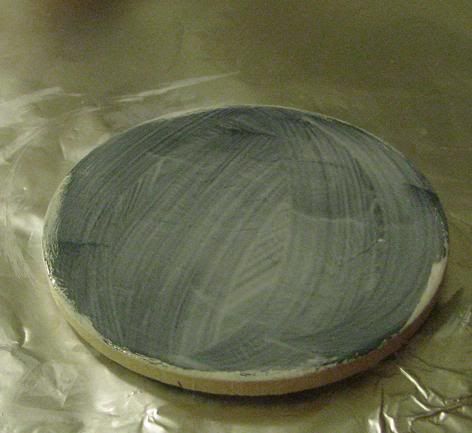
2) Cover top of painted coasters with a coat of Mod Podge.
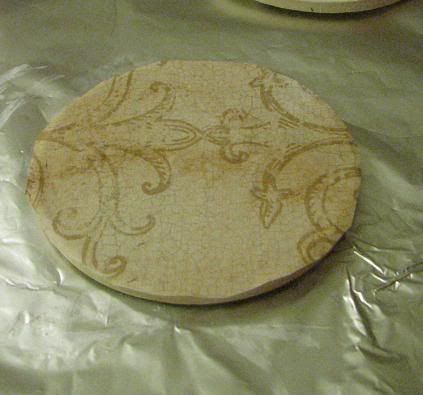
3) Cover top of Mod Podge coated coasters (say that 5 times fast, I dare you) with a piece of scrapbook paper (I had some left over from a previous project) and trim paper just to the edge of coasters. Let dry.
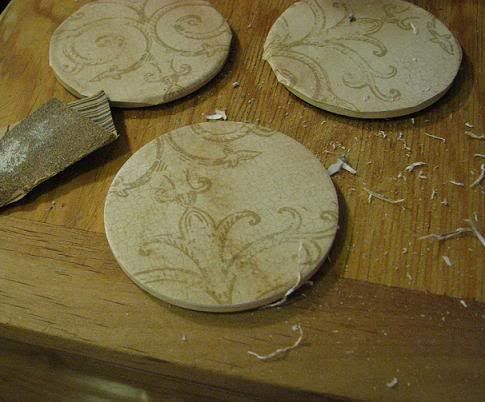
4) Take high grit sandpaper and (using a downward motion) remove excess paper from the edges of the coasters.
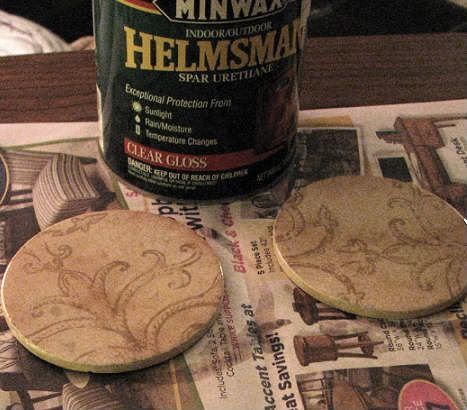
5) Apply a thin coat of spar urethane varnish. Let dry. Apply two more coats of varnish, drying in between coats. Sand with 400 grit sandpaper in between coats if you see brush marks. I didn't want a glossy surface on my coasters so I buffed with 0000 steel wool to remove the shine after the final coat dried.
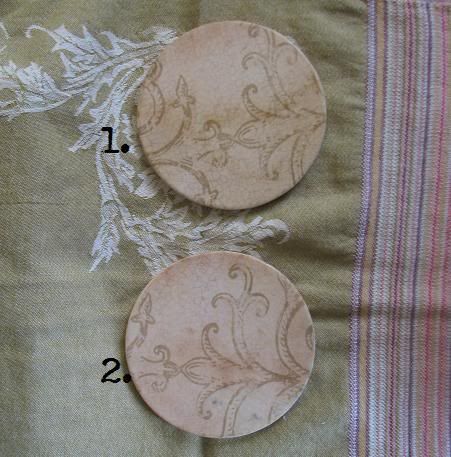
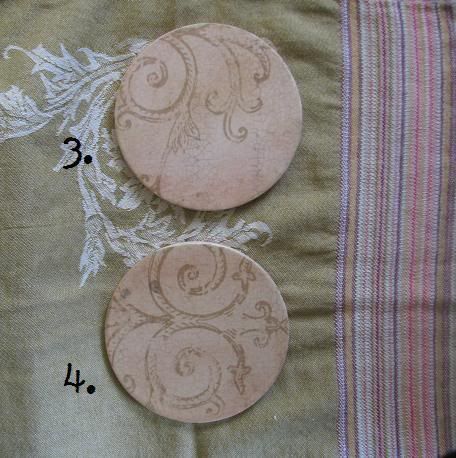
Here are the finished coasters. Each one is unique but they all go together.
Voila!
If you've had trouble finding coasters to suit your personal taste, I hope my project inspires you. If you've already done a similar project, I'd love it if you'd share a link to it in the comments section.

Sharing this project at:
Frugal Friday at The Shabby Nest
Show and Tell Friday at My Romantic Home
It's a Hodgepodge Friday at It's a Hodgepodge Life
Marvelously Messy
Saturday is Crafty Day at Along for the Ride
and. . .at Jennifer Rizzo's Thrift Store Makeover Linky Party
